
Each week we hope to share ideas, homework sheets, lesson plans for the CSSA lessons. Please share any resources you may have!
Primary Lesson
There are so many neat ideas out there on how to teach the creation story! Here are just a few that are aimed at the younger age group. Most of these ideas were created for a Bible School I taught at recently, but I figured they could be adapted to use to teach a regular Sunday School class as well! Obviously not all the ideas can be used in one Sunday School class … but you could choose one to accompany your lesson!
Homework Sheet
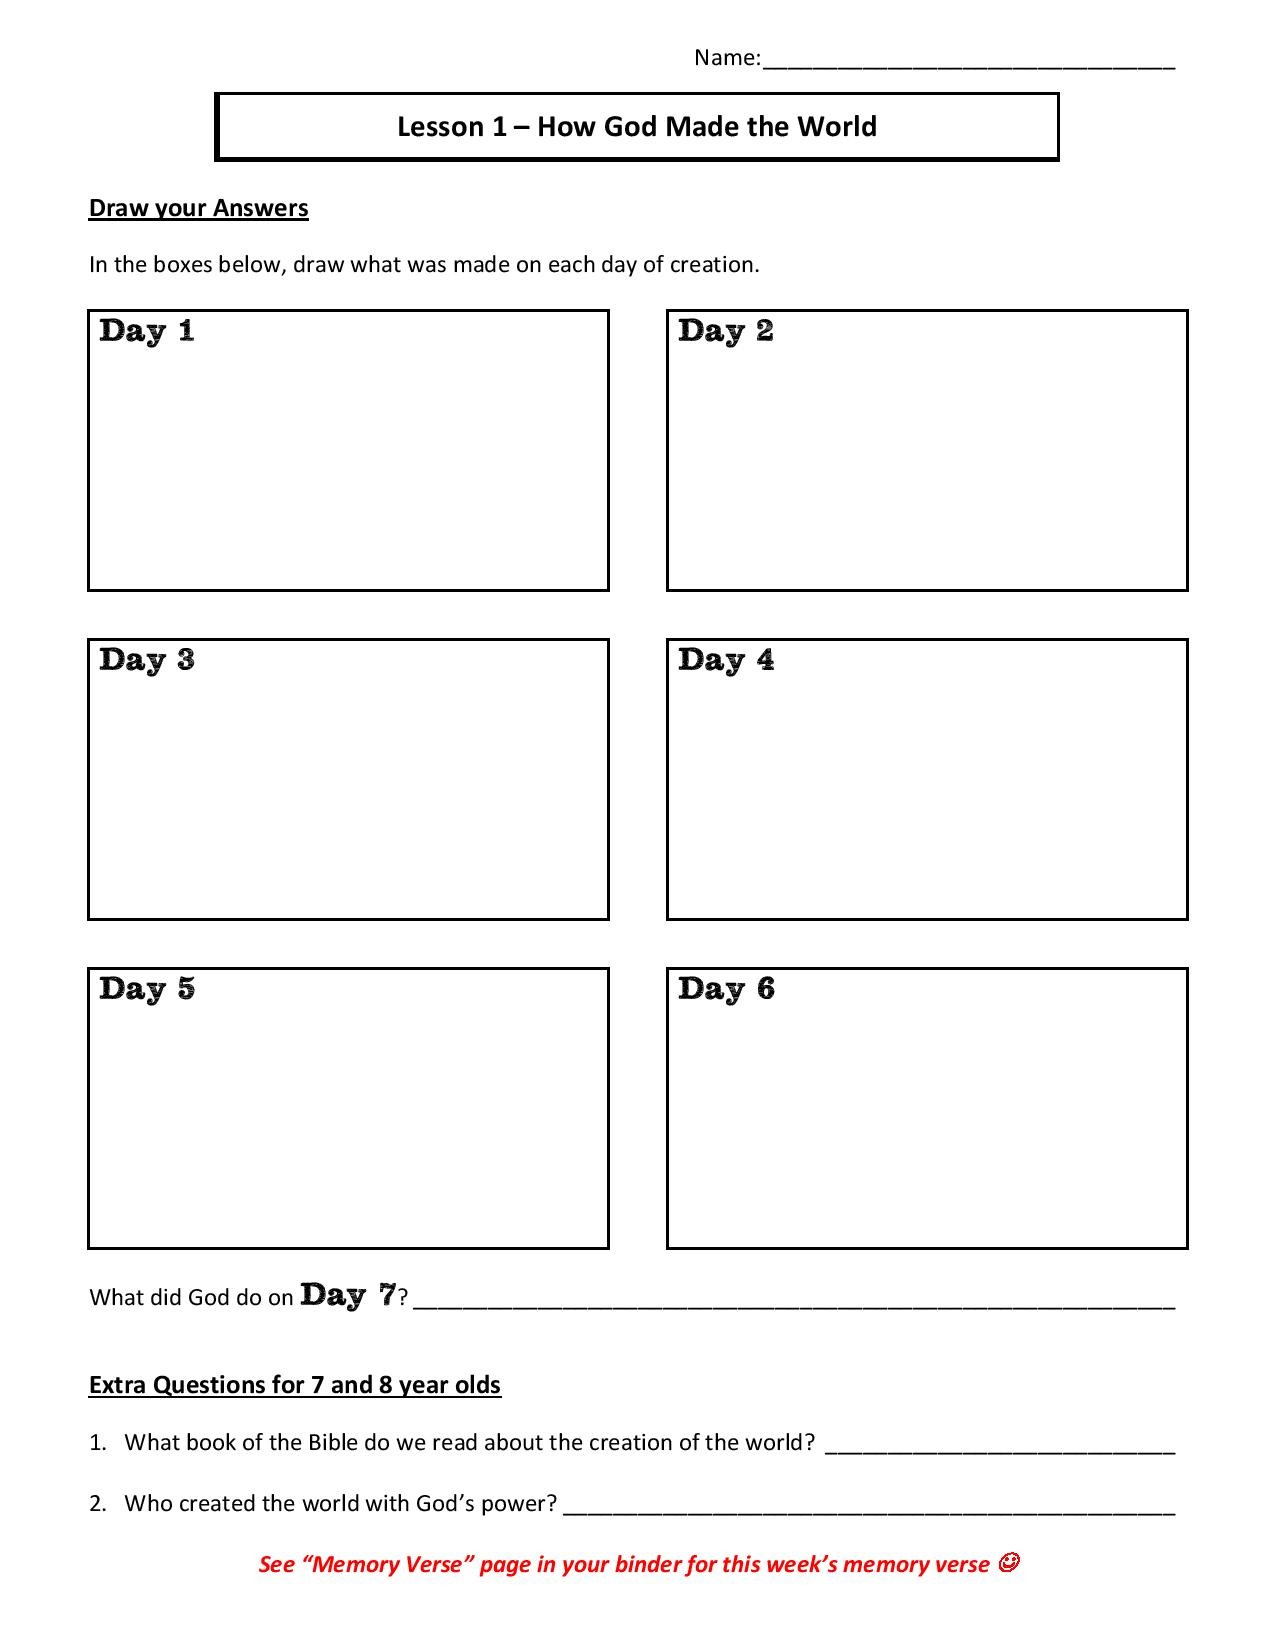
This is a primary homework sheet (Word) or (PDF).
Memory Verse System
I wanted to try and come up with a memory verse system this year, to keep all the verses in one place … and review the verses throughout the year. I put together this template. Here are some brief instructions for how the memory verse system works:
- Print out the blank “Memory Verse” page … enough for each student. Place in a plastic pocket in the student’s binder.
- Each week, print the memory verse that goes along with the lesson. Attach it to the “Memory Verse” page in the student’s binder.
- Once the sheet is full, print a new “Memory Verse” page to put in the student’s binder.
- On review weeks, have the student choose a verse from one of the previous weeks to review for homework.
- Keep all the memory verses together for the year!
Click here to download the memory verse page.
Click here to download the first six memory verses.
Every six weeks or so, I will upload a new sheet of memory verses.
Note: these memory verses are aimed at primary age children (5-8 years old).
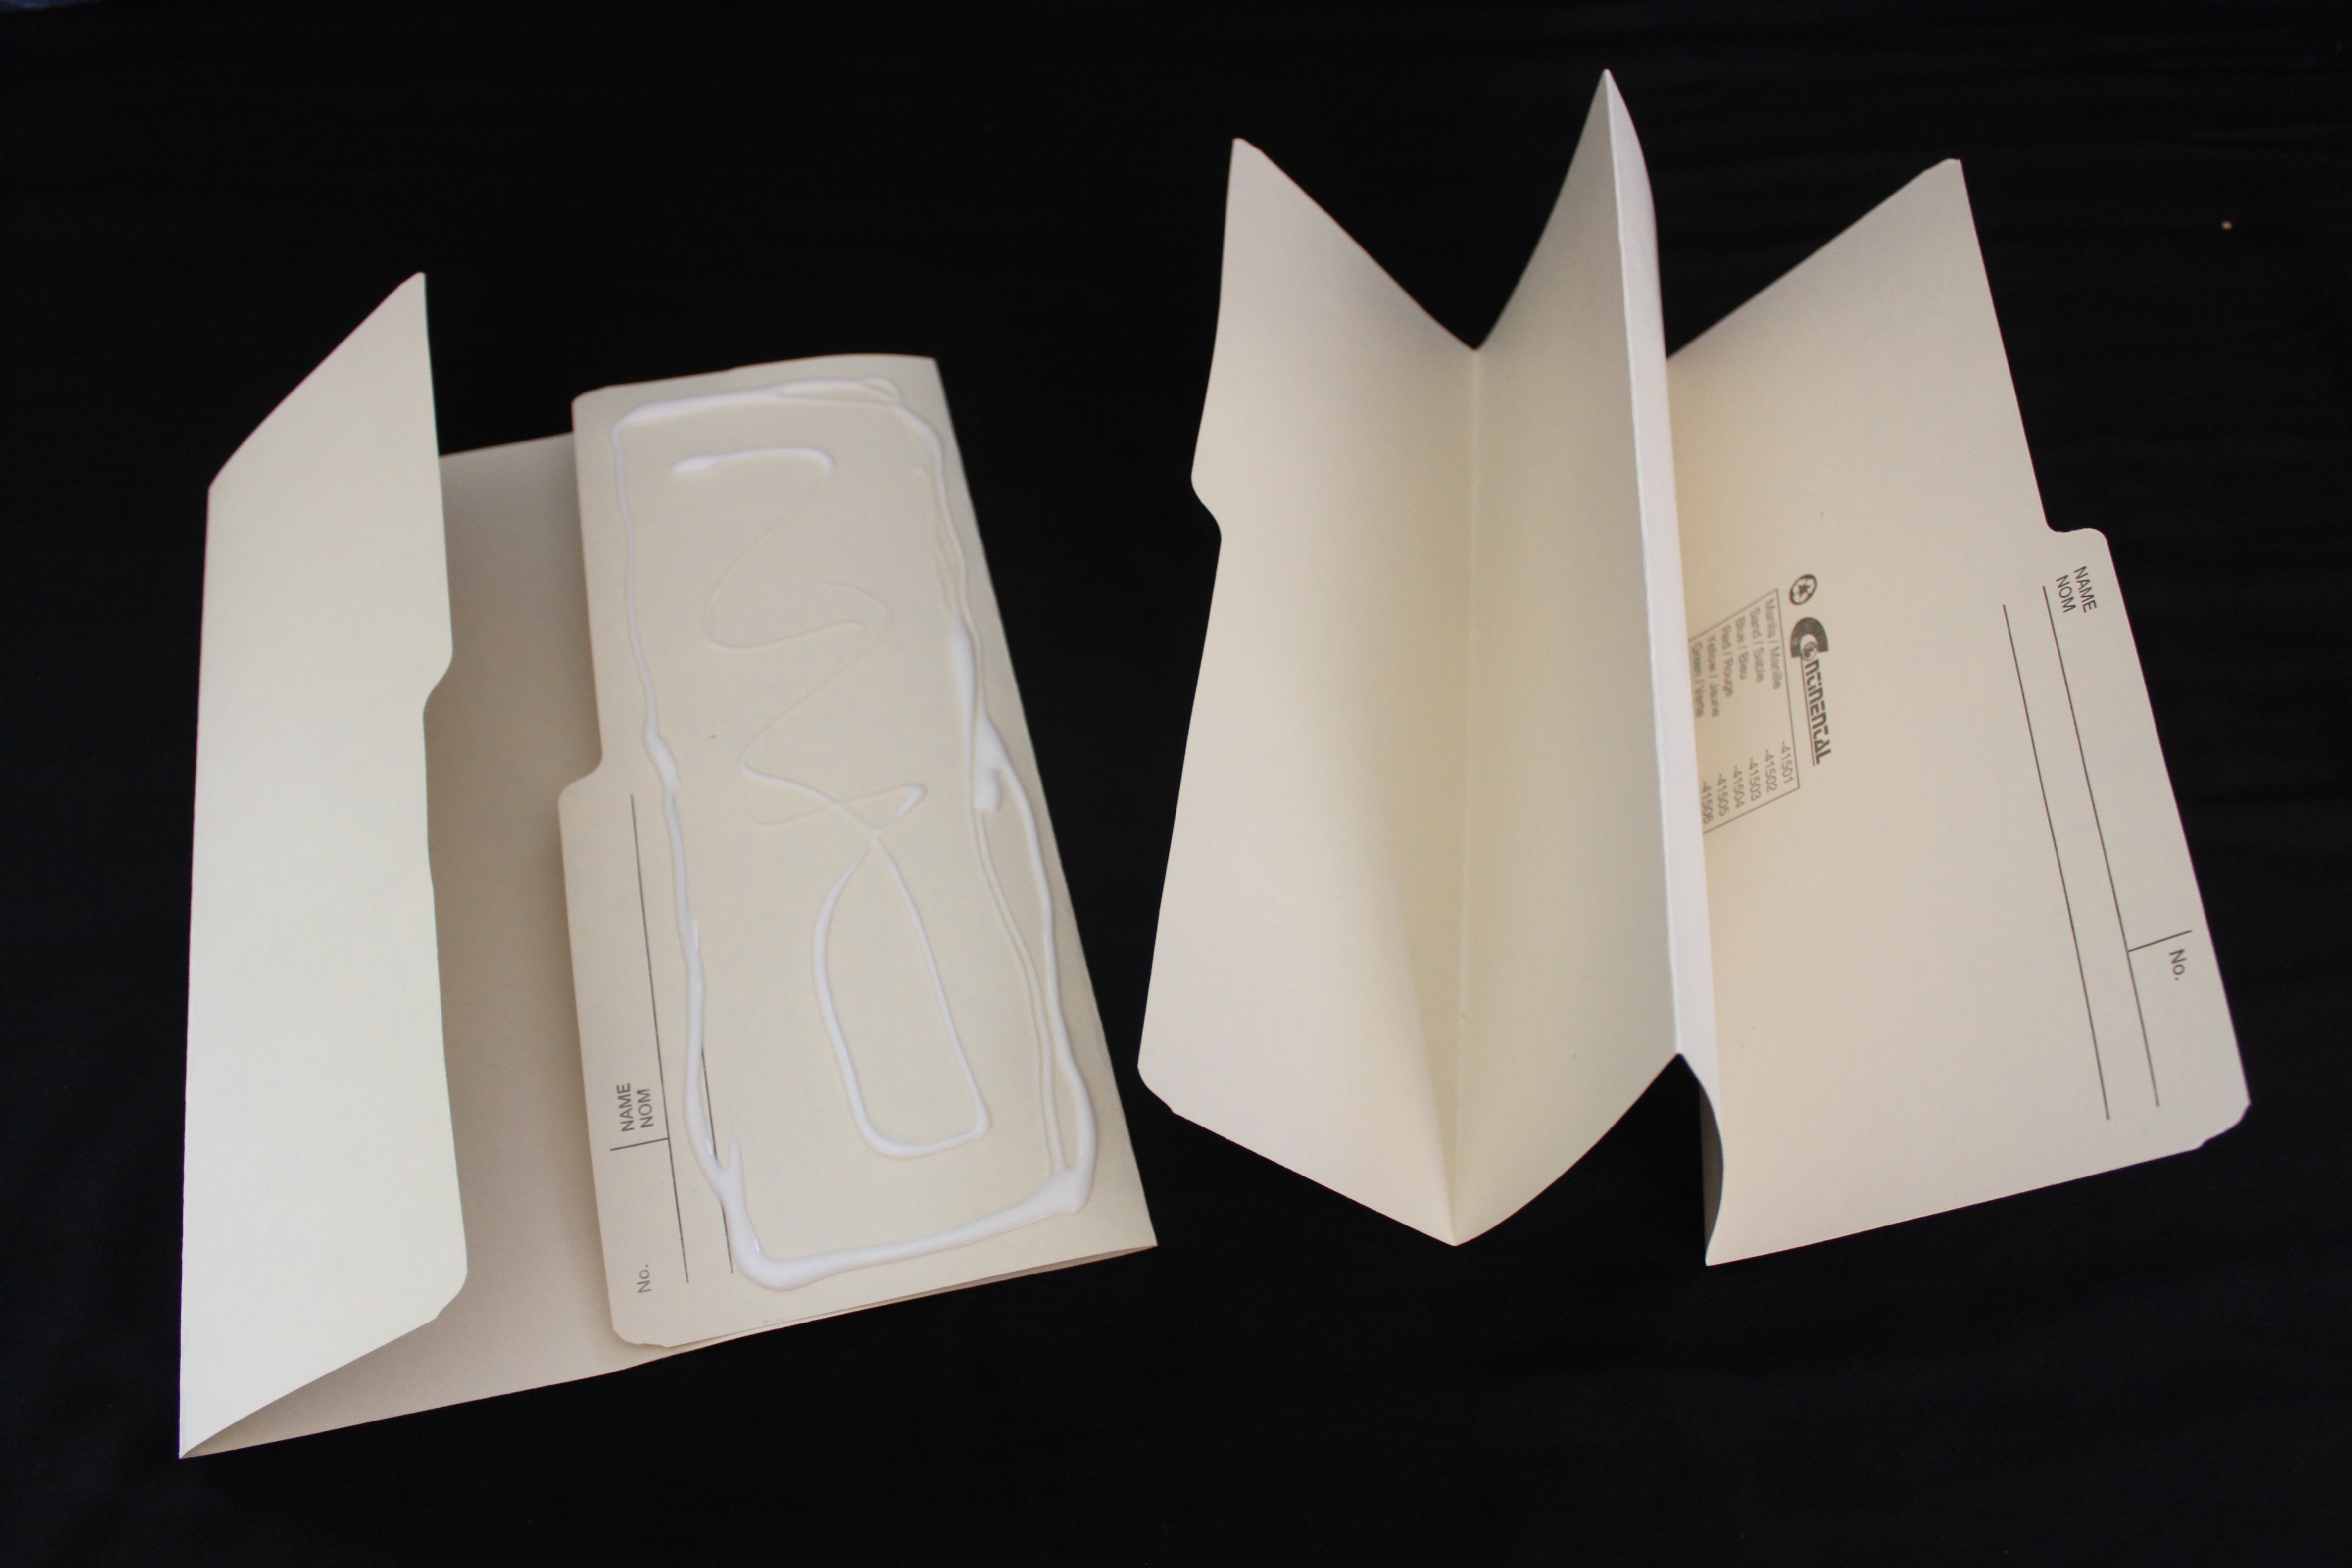
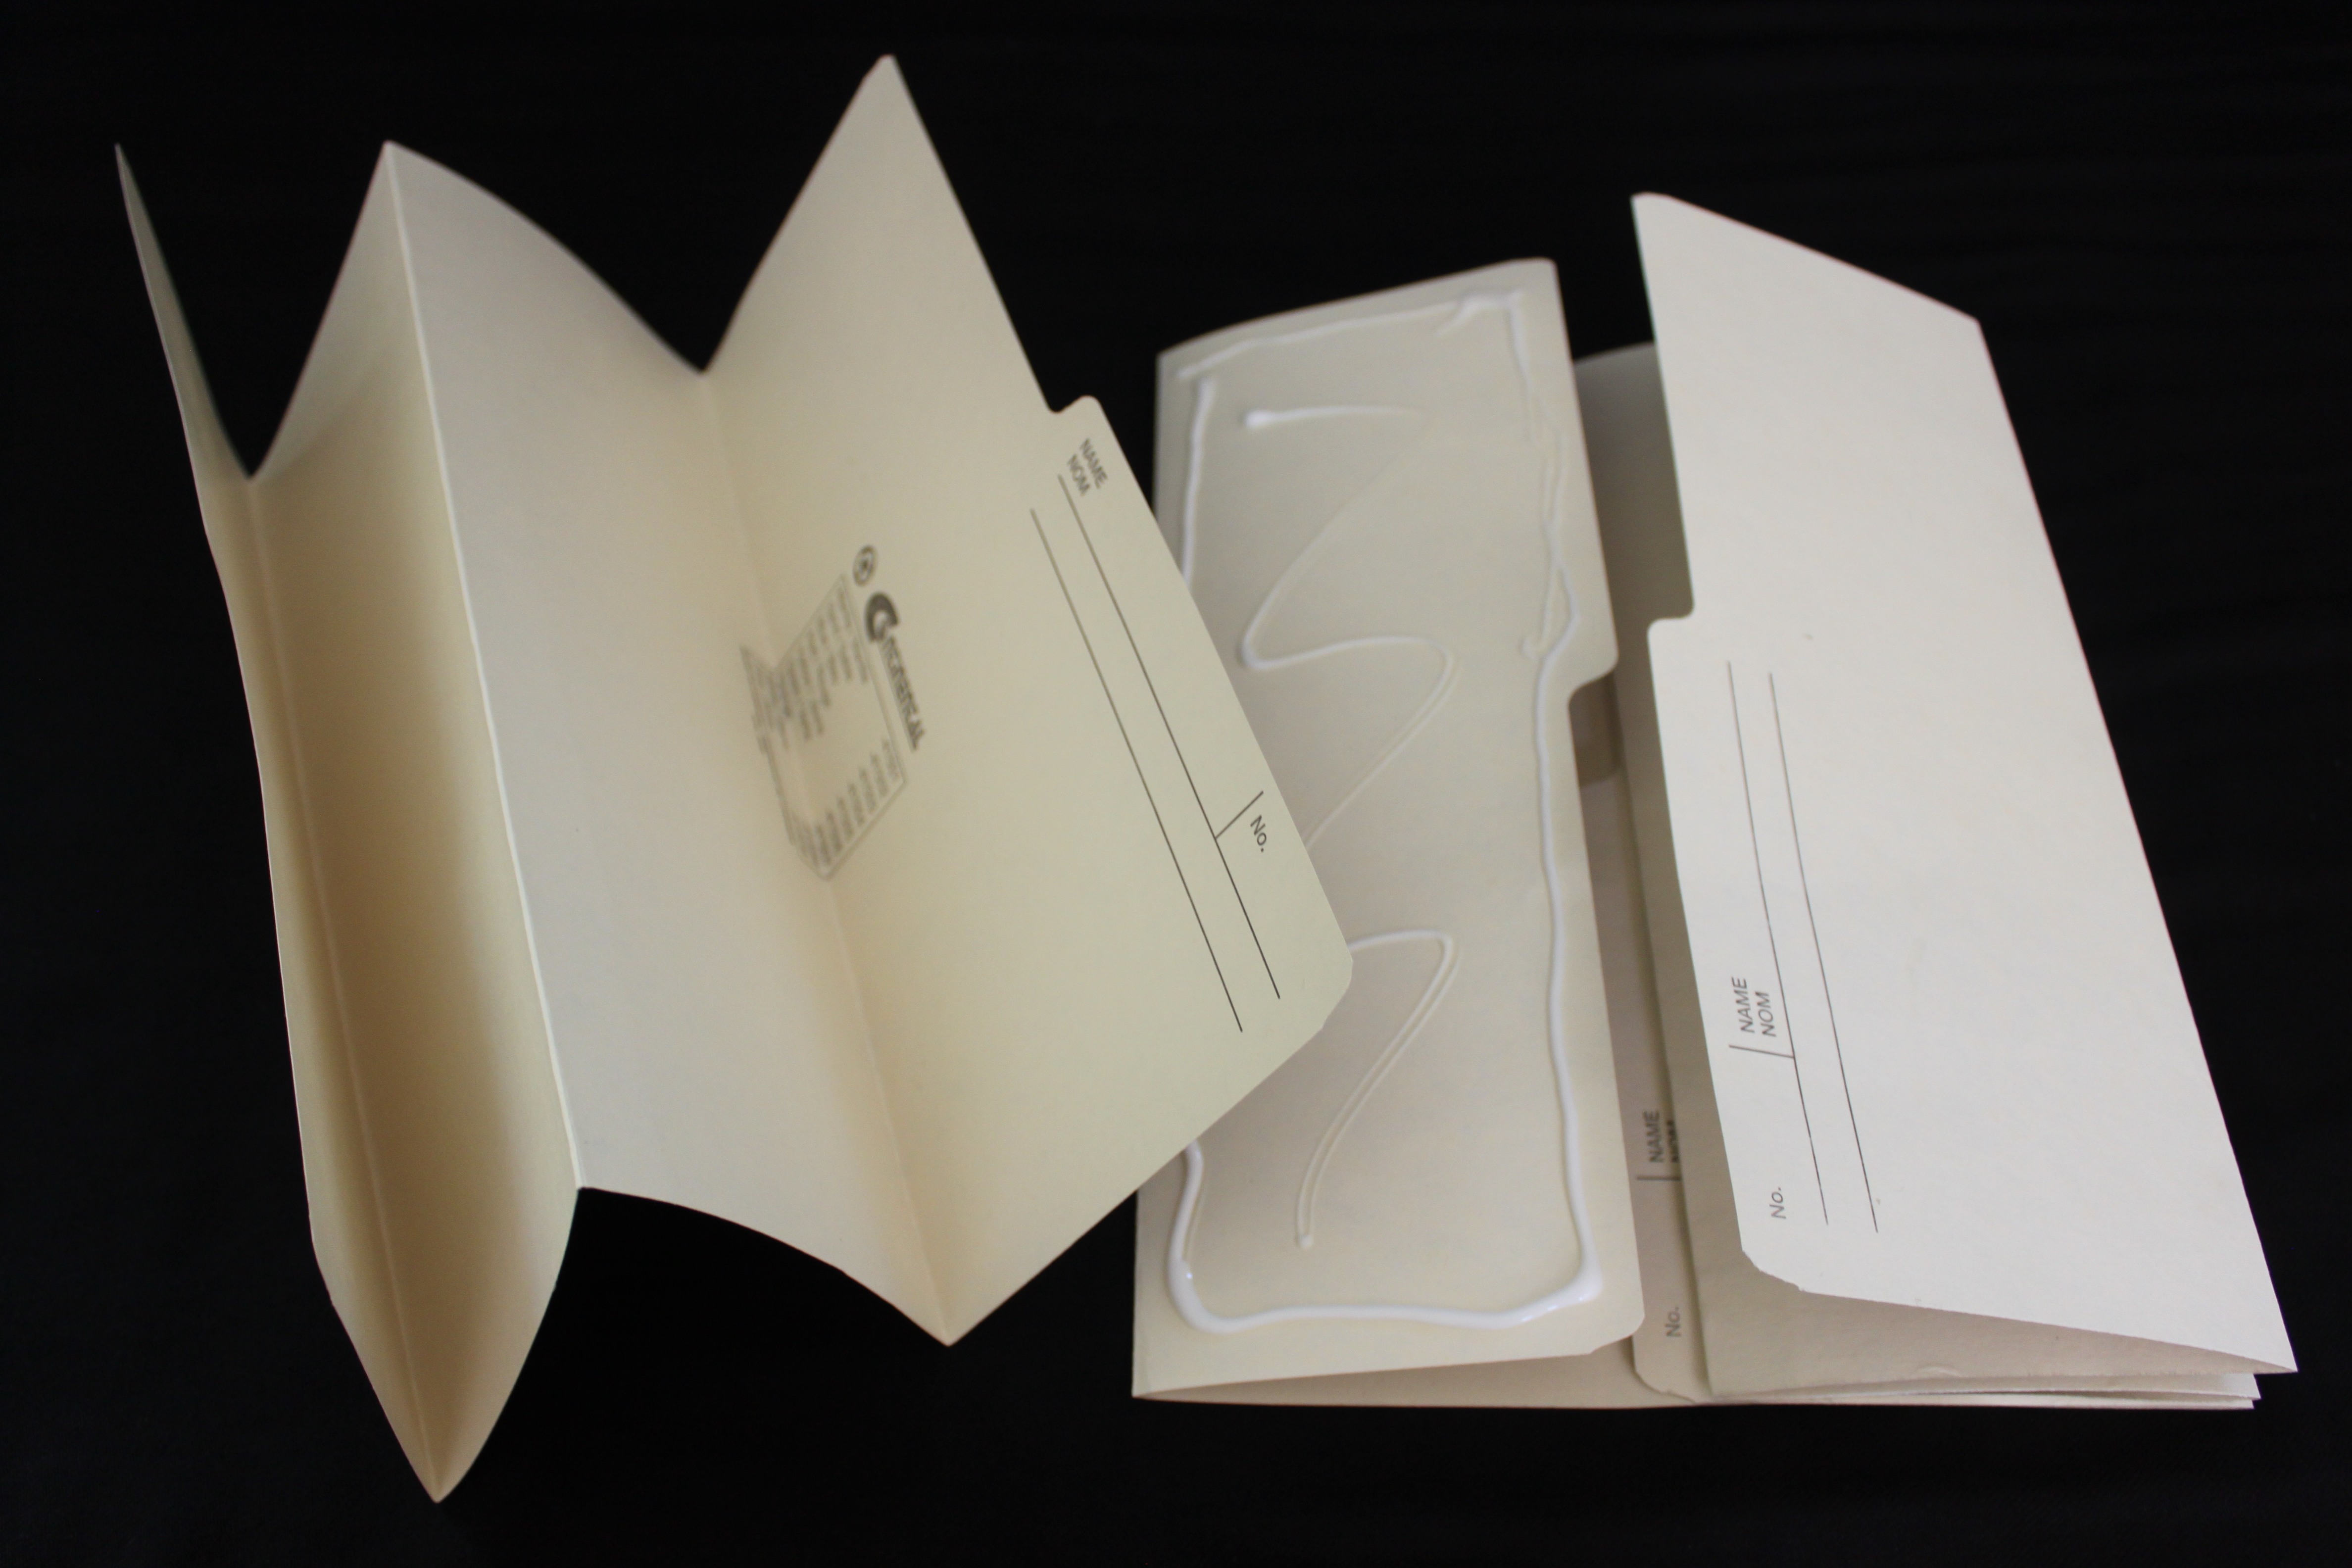
Year-Long Lapbook Project
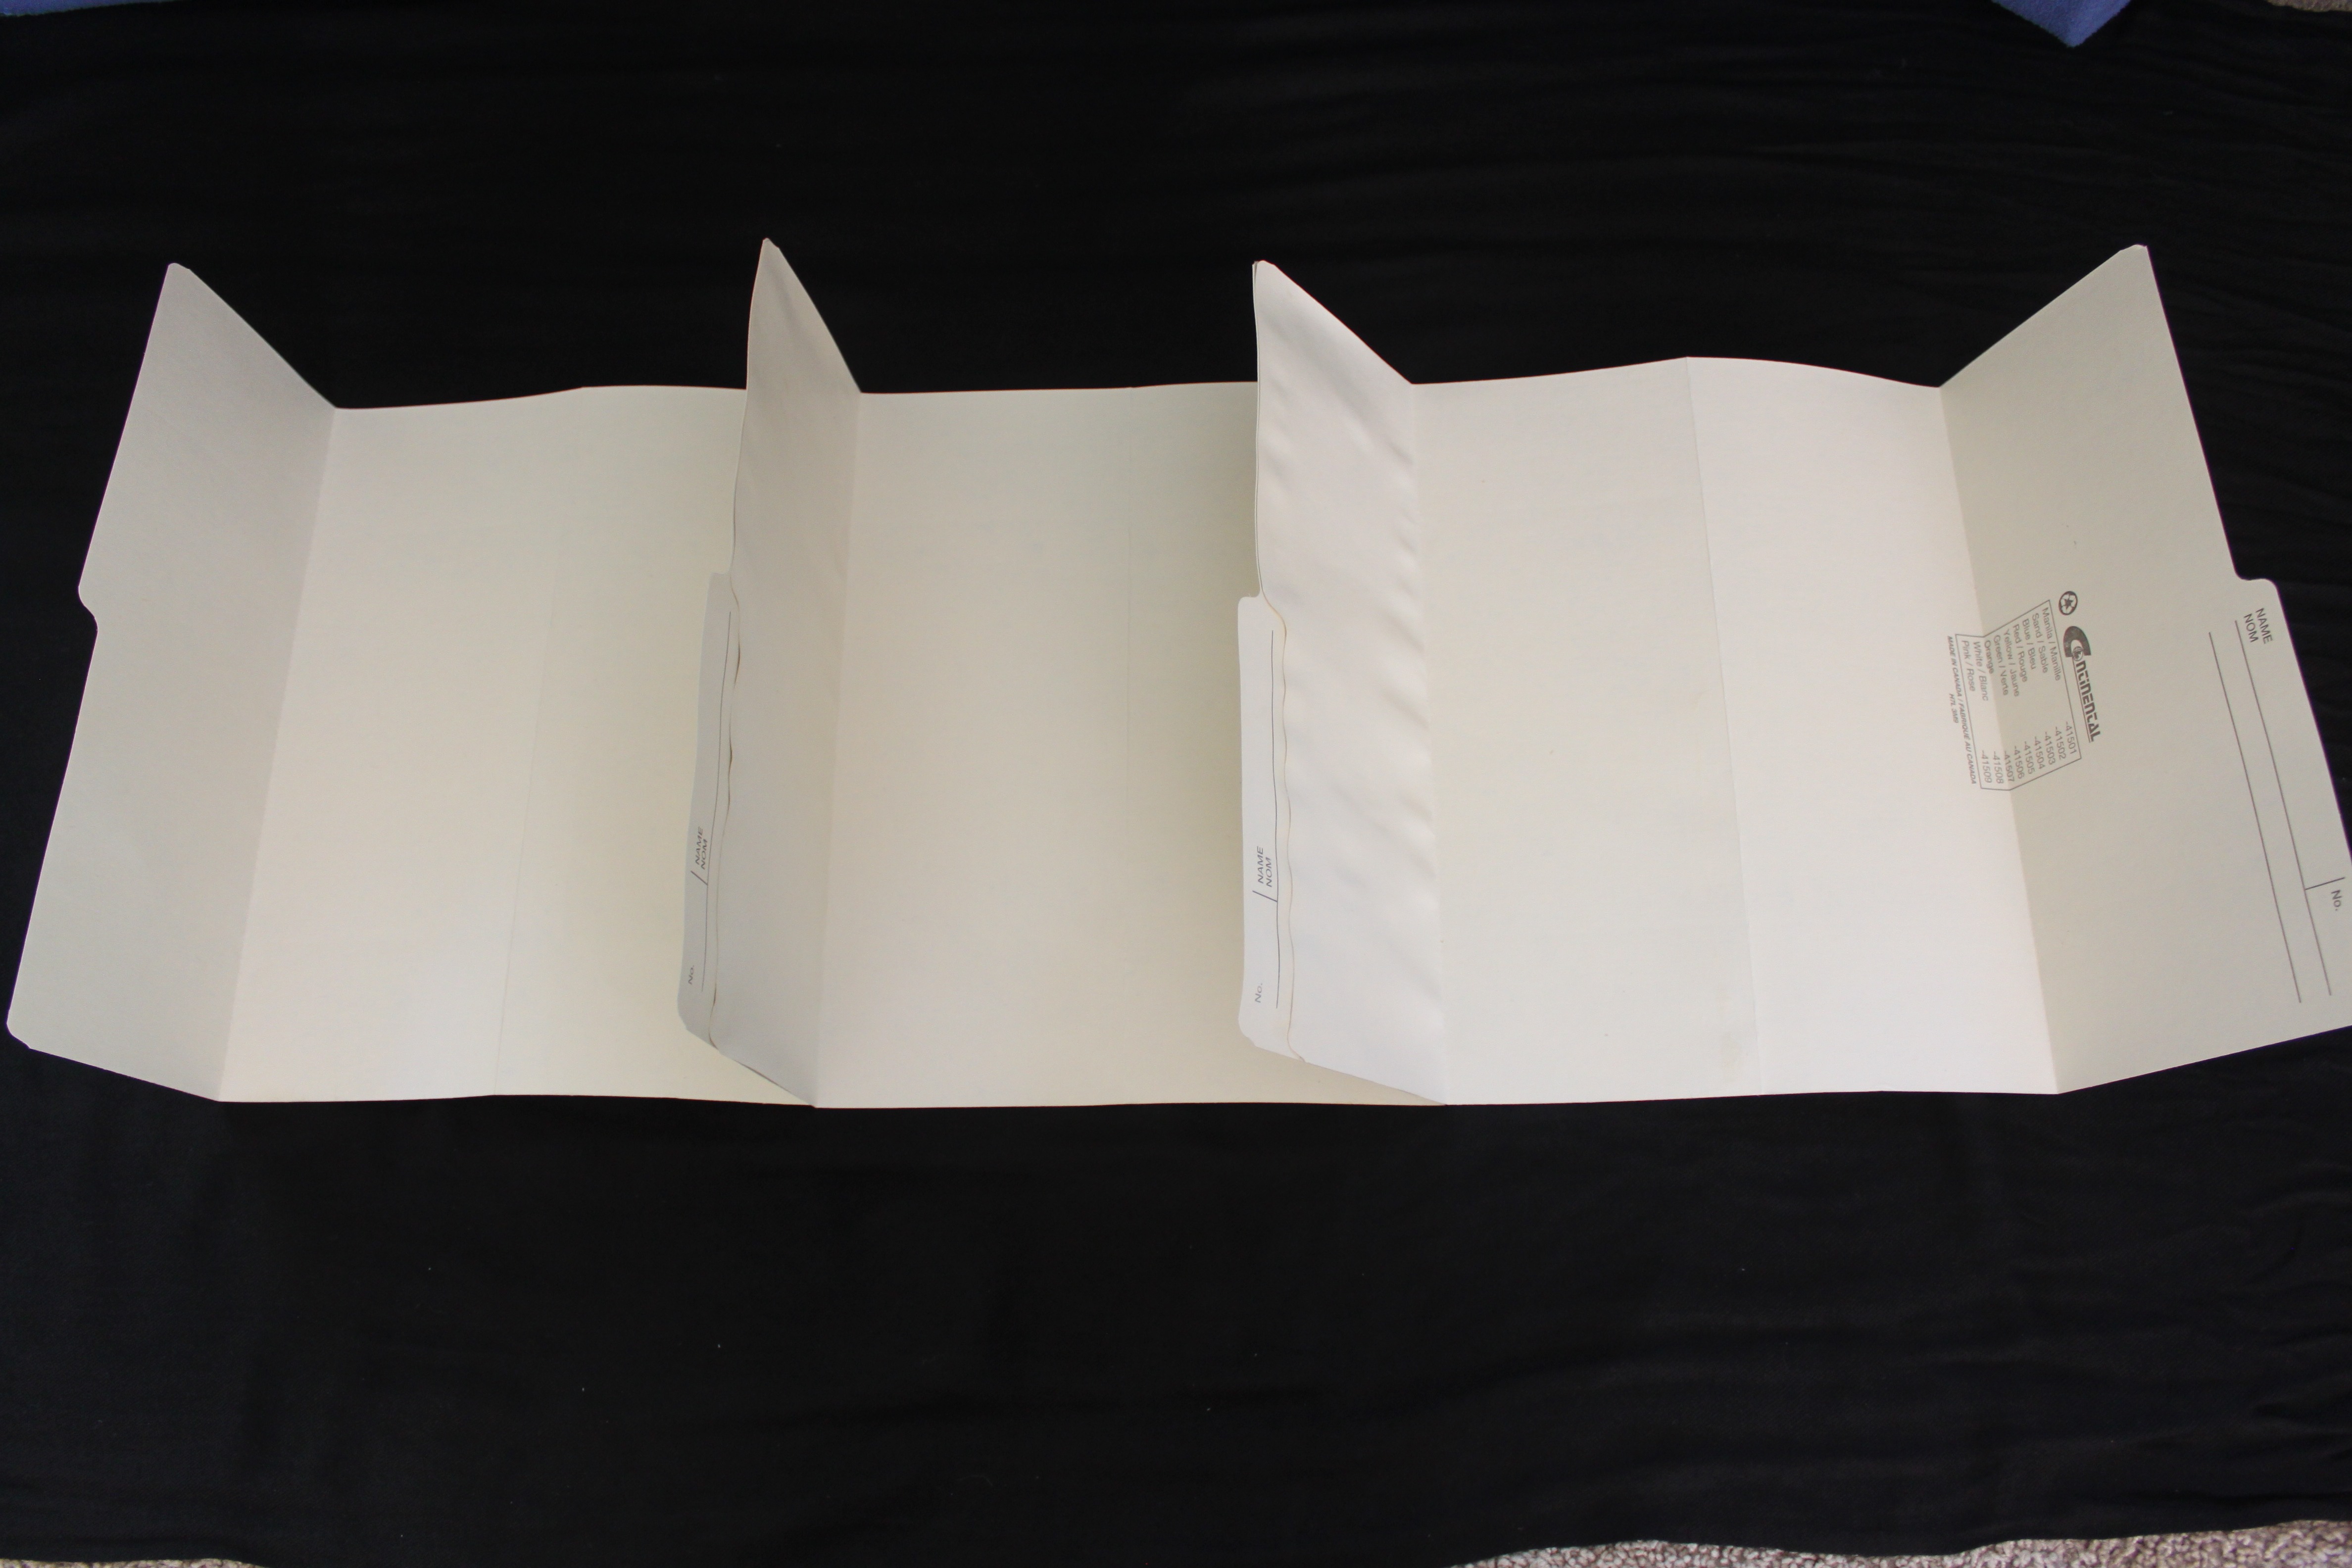
I am going to do a lapbook with my Sunday School this year and each lesson we will add something to it. This will help keep most of the activities for the year together in one place. It’s not going to be a regular lapbook with one folder … it’s a triple one, made from three file folders! If you are unsure of what a lapbook is, please refer to this post we did a few months ago.
Here is how you put together a triple lapbook.

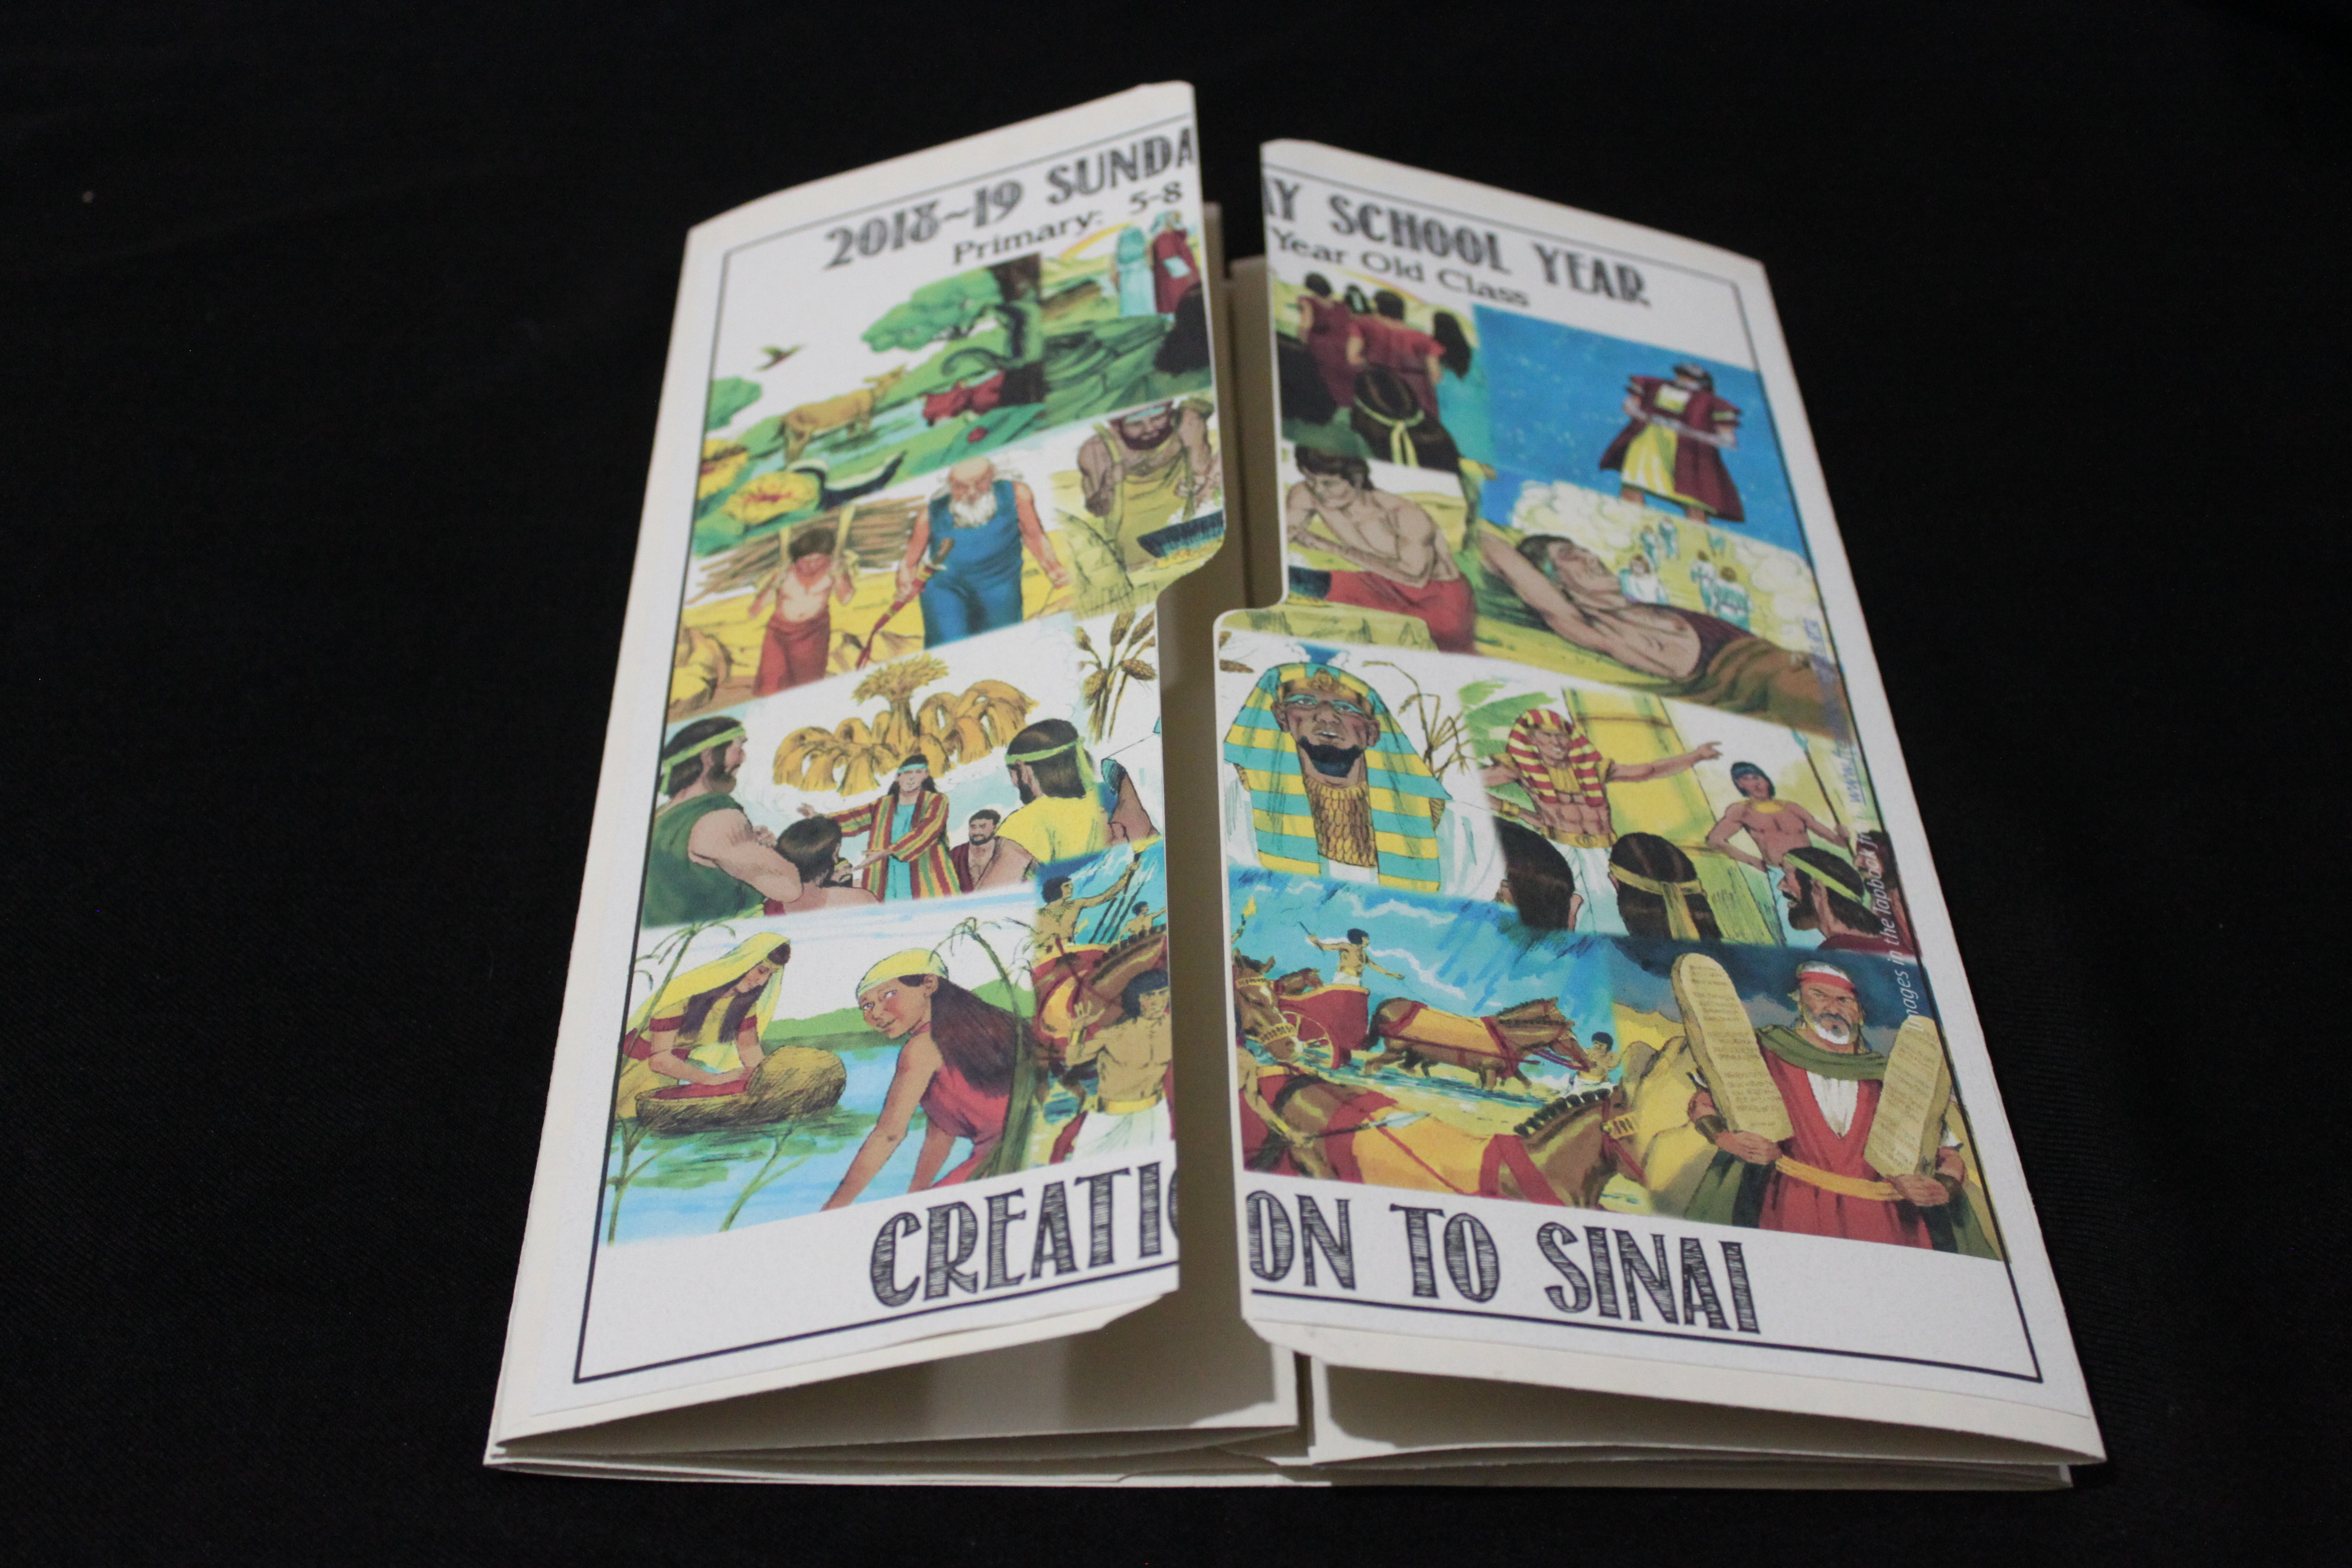
Here are the items to include in the lapbook for Lesson 1:
 Lesson 1
- Creation circle spinner from the CSSA primary activity sheets, lesson 1. Print the page at custom scale 75% … so it fits in the lapbook. This option is found in the print menu under “Page Sizing and Handling”.
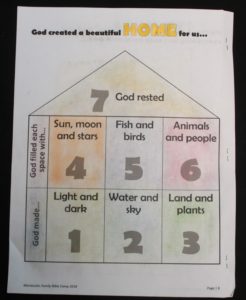
- House flap … God created a beautiful home for us.
Click here to download the PDF of the flaps for lesson 1 and 2.
Click here to download the PDF of the lapbook title page.
Click here to download the PDF of the lapbook title page (no date).
Each week we will be uploading a new flap for the lapbook to go along with the week’s lesson.
* ~ * ~ * ~ * ~ * ~ * ~ * ~ * ~ * ~ * ~ * ~ * ~ * ~ * ~ * ~ * ~ * ~ * ~ *
Craft Ideas
Two dedicated Sunday School teachers have very useful Pinterest pages that link directly to the CSSA program. Each week we will share direct links to the Pinterest boards so you can quickly and easily get quality ideas if needed.
Jane Petite Stage 1 Lesson 1 resources
Judith Skipper Coloring Ideas for Stage 1
Judith Skipper Craft Ideas for Stage 1
Sensory Bottles
Kids LOVE sensory bottles!! I filled eight Gatorade bottles with various things to correspond with the days of creation. When I spoke about that particular day, I passed around the bottle. Here is what I included in each bottle:
- Day 1 – 2 bottles … #1 with black food colouring … #2 with yellow food colouring and gold glitter.
- Day 2 – mineral / baby oil, blue food colouring, styrofoam clouds, silver glitter.
- Day 3 – fake flowers, real flowers, small branch with leaves, blue tape and white paper (on outside of bottle to show the sky and clouds).
- Day 4 – yellow bouncy ball (sun), glitter, star stickers, moon cut out of foam.
- Day 5 – 2 bottles … #1 with blue food colouring, foam fish, shells, glitter, foam seaweed stuck on outside of bottle … #2 with feathers, foam birds, small bird toys / stickers, bird erasers.
- Day 6 – small animal toys / stickers, animal erasers, lego man and woman.

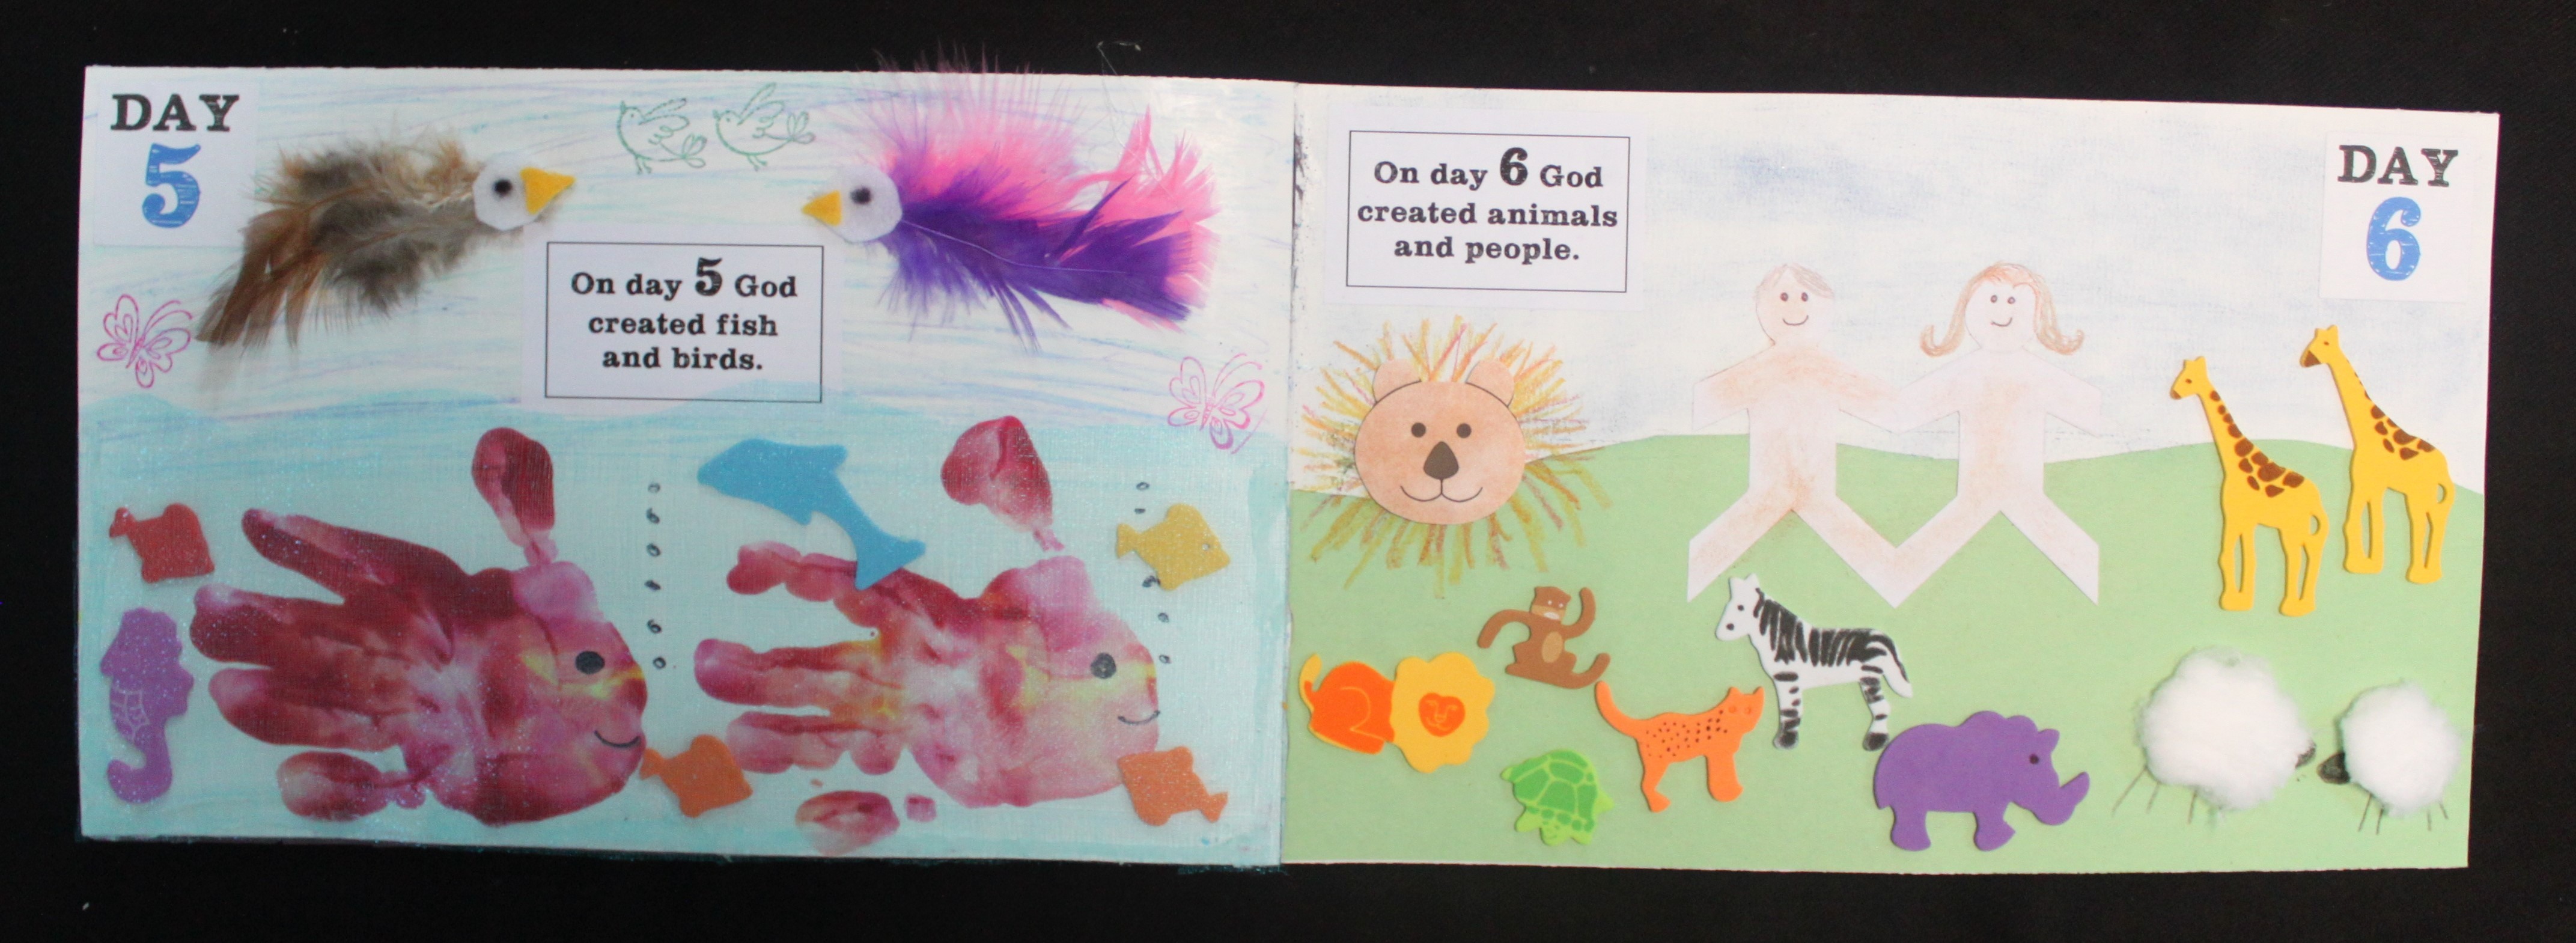
Creation Book
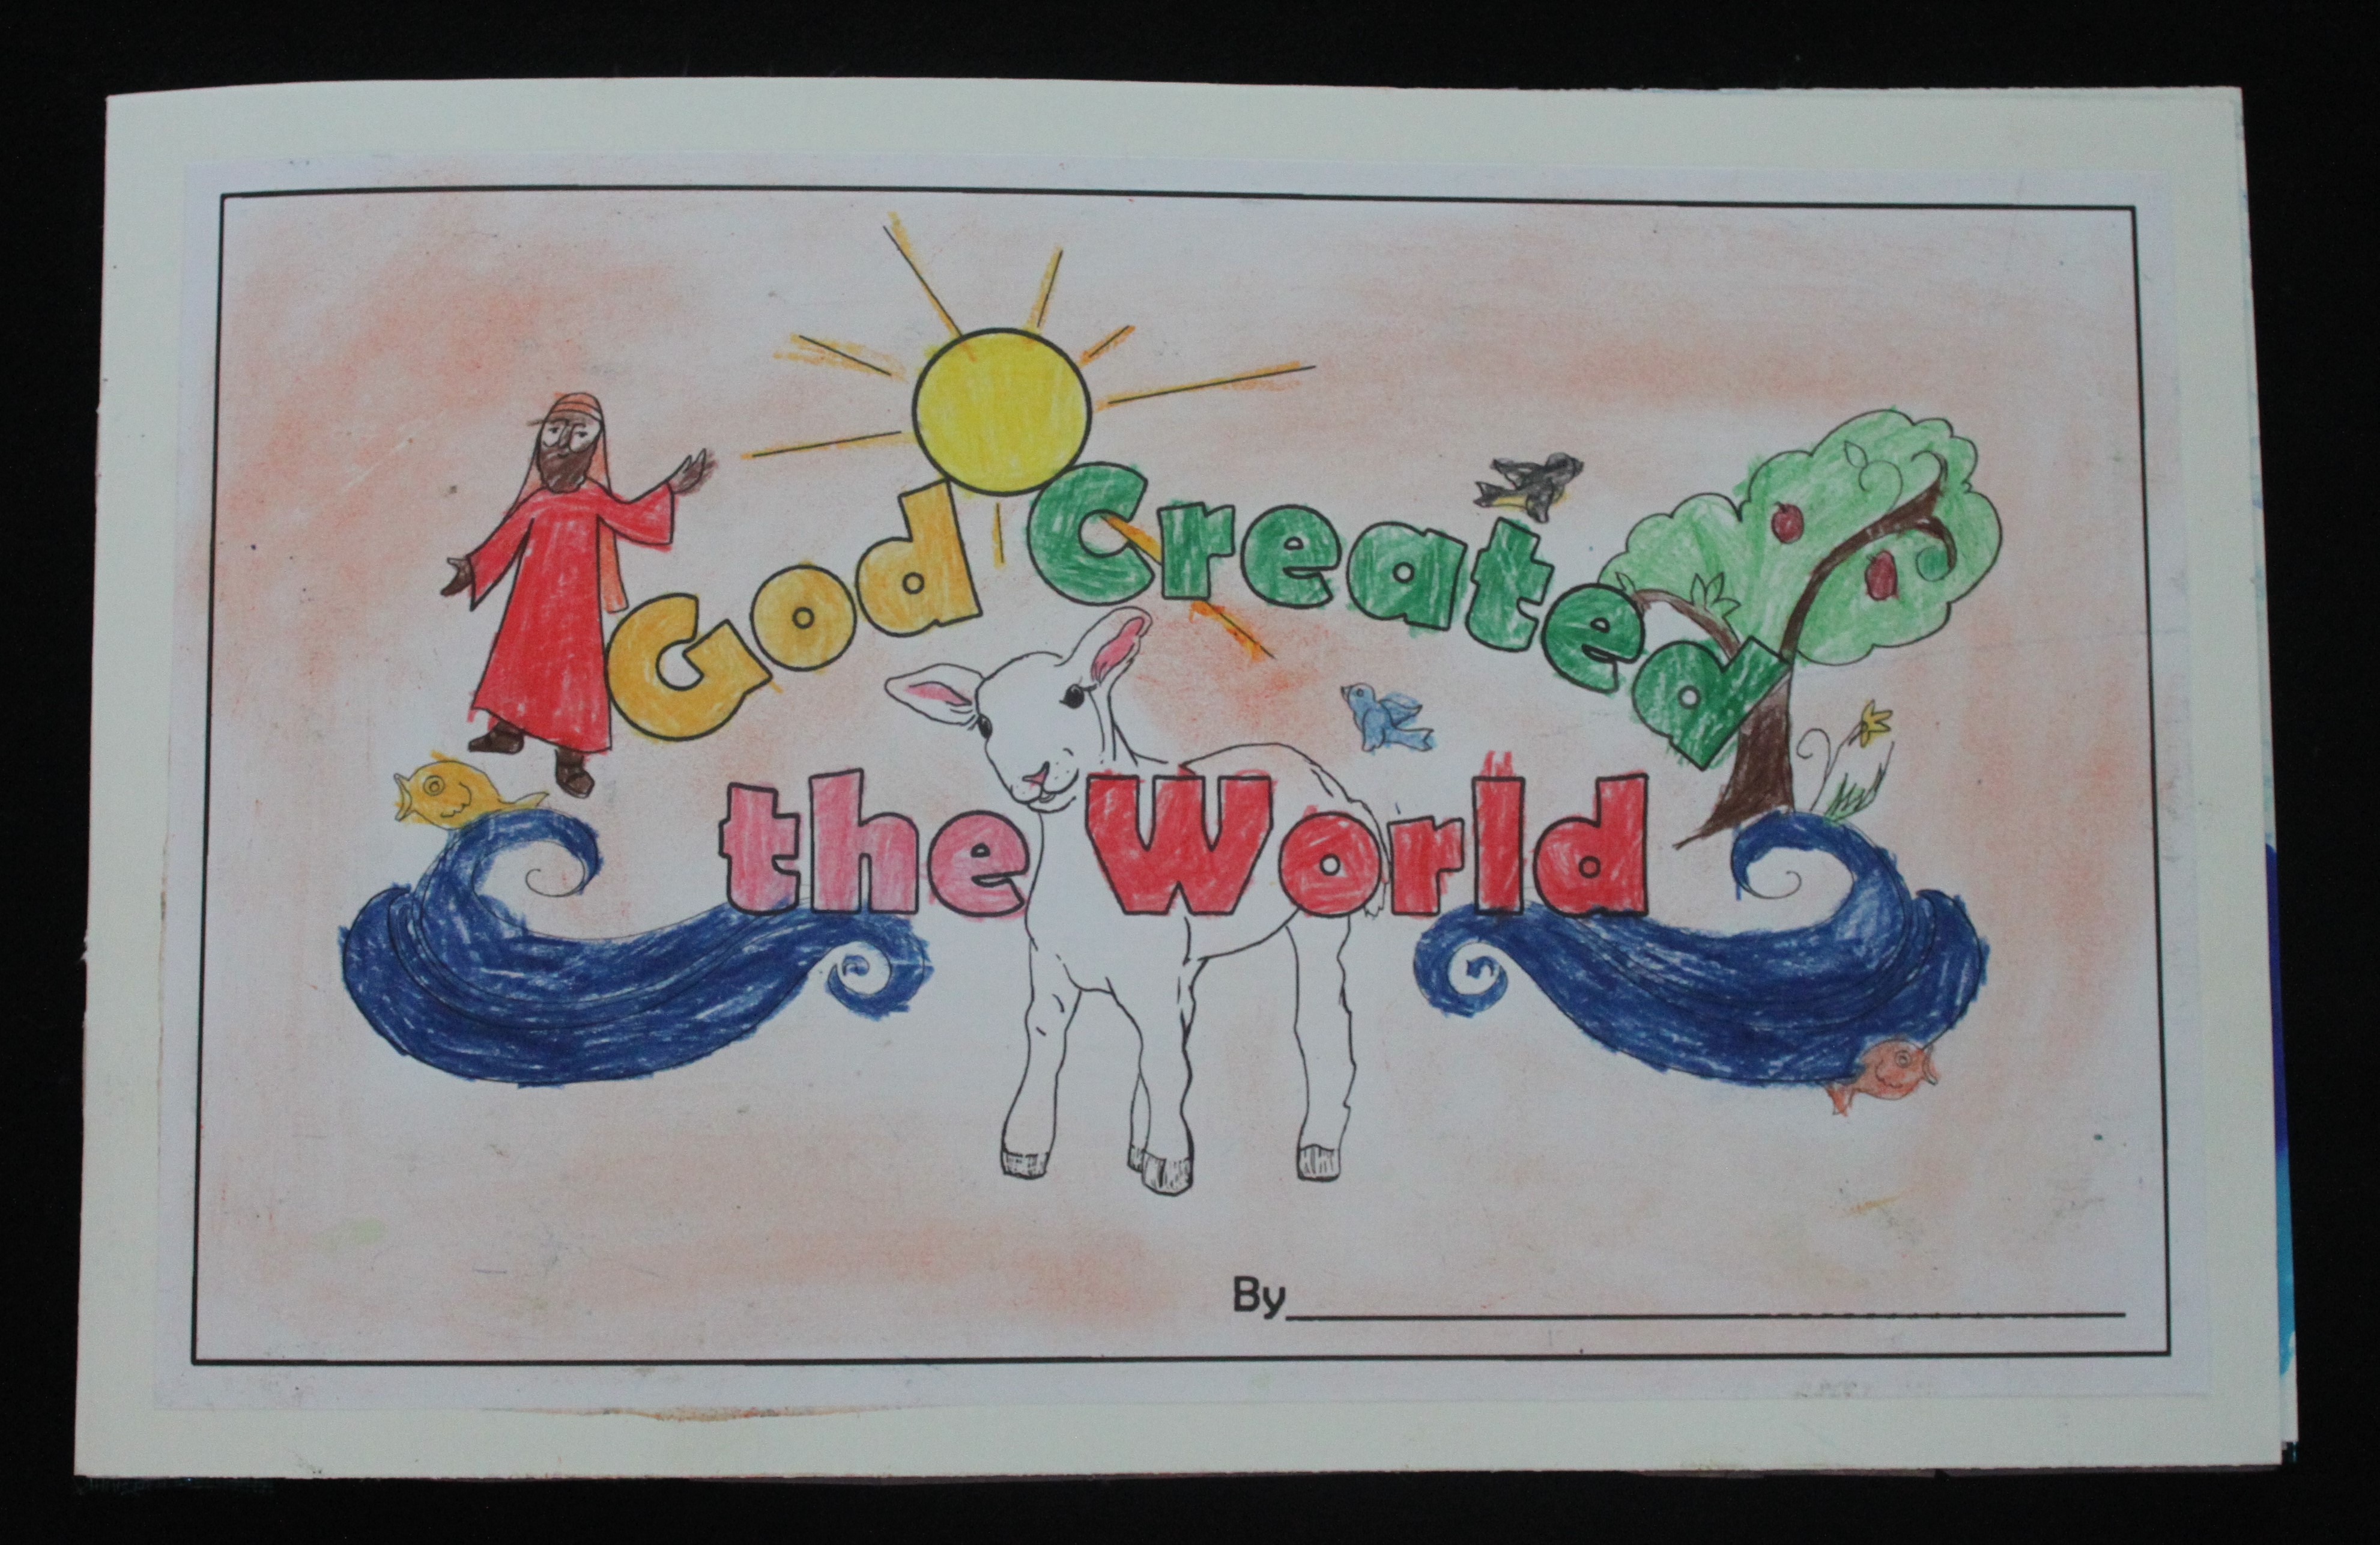 Divide a piece of white bristol board into 4 strips (have bristol board laying portrait way). Fold 2 strips in half and staple down the centre to form a little book with 8 pages. Note: each sheet of Bristol board will make two books.
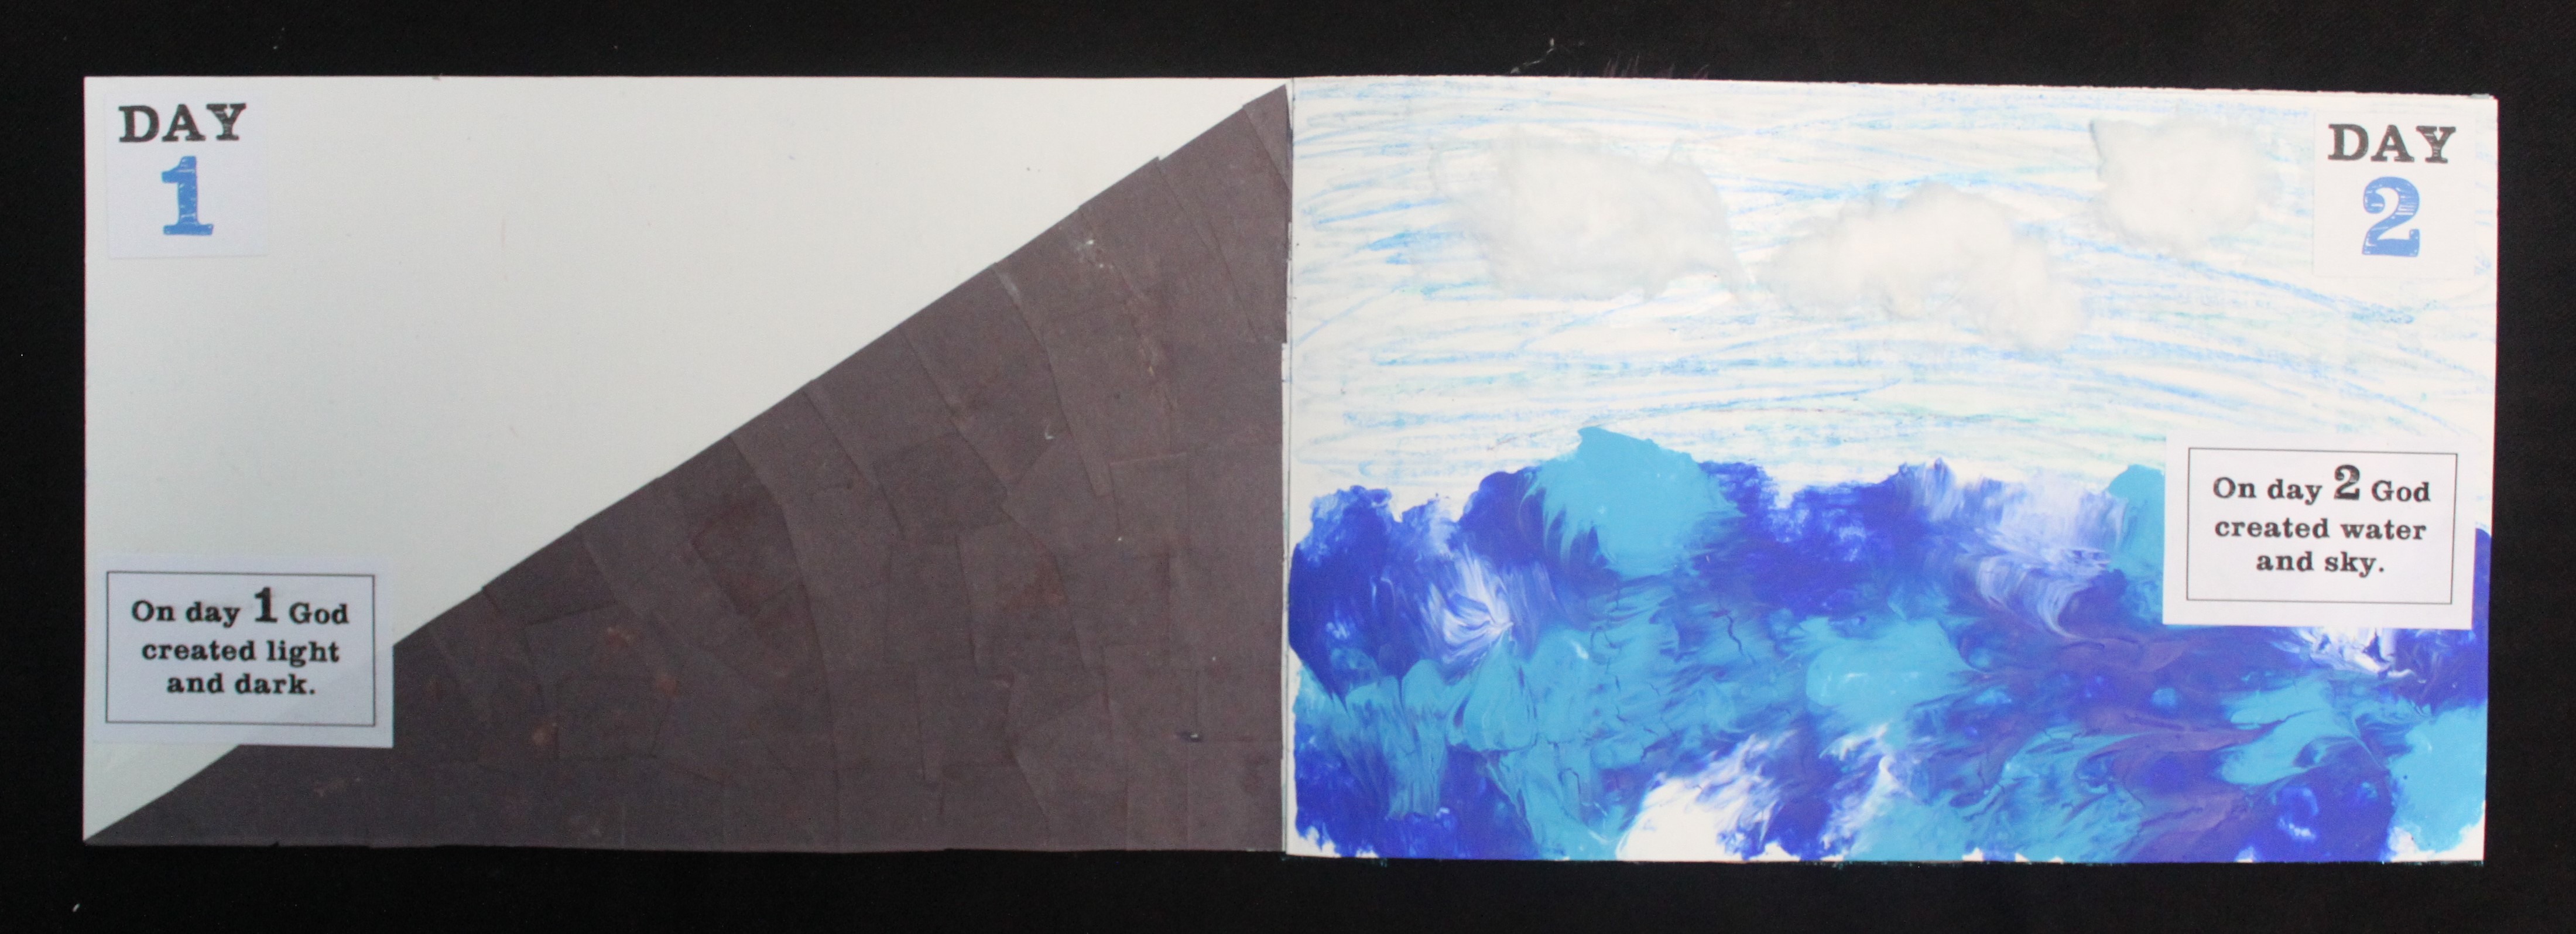
Here are some ideas for decorating each day:
- Colour the picture for the front cover and add the student’s name.
- Day 1 – draw diagonal line down page – glue pieces of black paper on one half, leave other half white
- Day 2 – colour sky blue, glue cotton ball clouds in the sky, paint water on bottom of page (glad wrap painting – refer to this post on how to do glad wrap painting)
- Day 3 – colour top half light blue (sky), water dark blue, crumpled brown paper for land, pre-cut tree trunks from brown paper, tissue paper scrunched up for leaves, flower stickers / stamps
- Day 4 – glue black piece of paper on one half, blue piece of paper on other half, put moon cut-out and star stickers on black page, sun cut-out on blue page.
- Day 5 – colour top half light blue (sky), glue feather/felt birds, handprint fish at bottom, cover with blue cellophane or light material (water).
- Day 6 – crayon lion, cotton ball sheep, lady and man cut-out, animal foam stickers
- Day 7 – ahead of time, write “GOD RESTED” with a white crayon on the back page. Have the students paint over the top with watered down tempera paint to reveal the hidden message!
Click here to download the cover for the Creation Book.
Click here to download the stickers for each day (printed on Avery labels #22805).
Click here to download the text for each day.

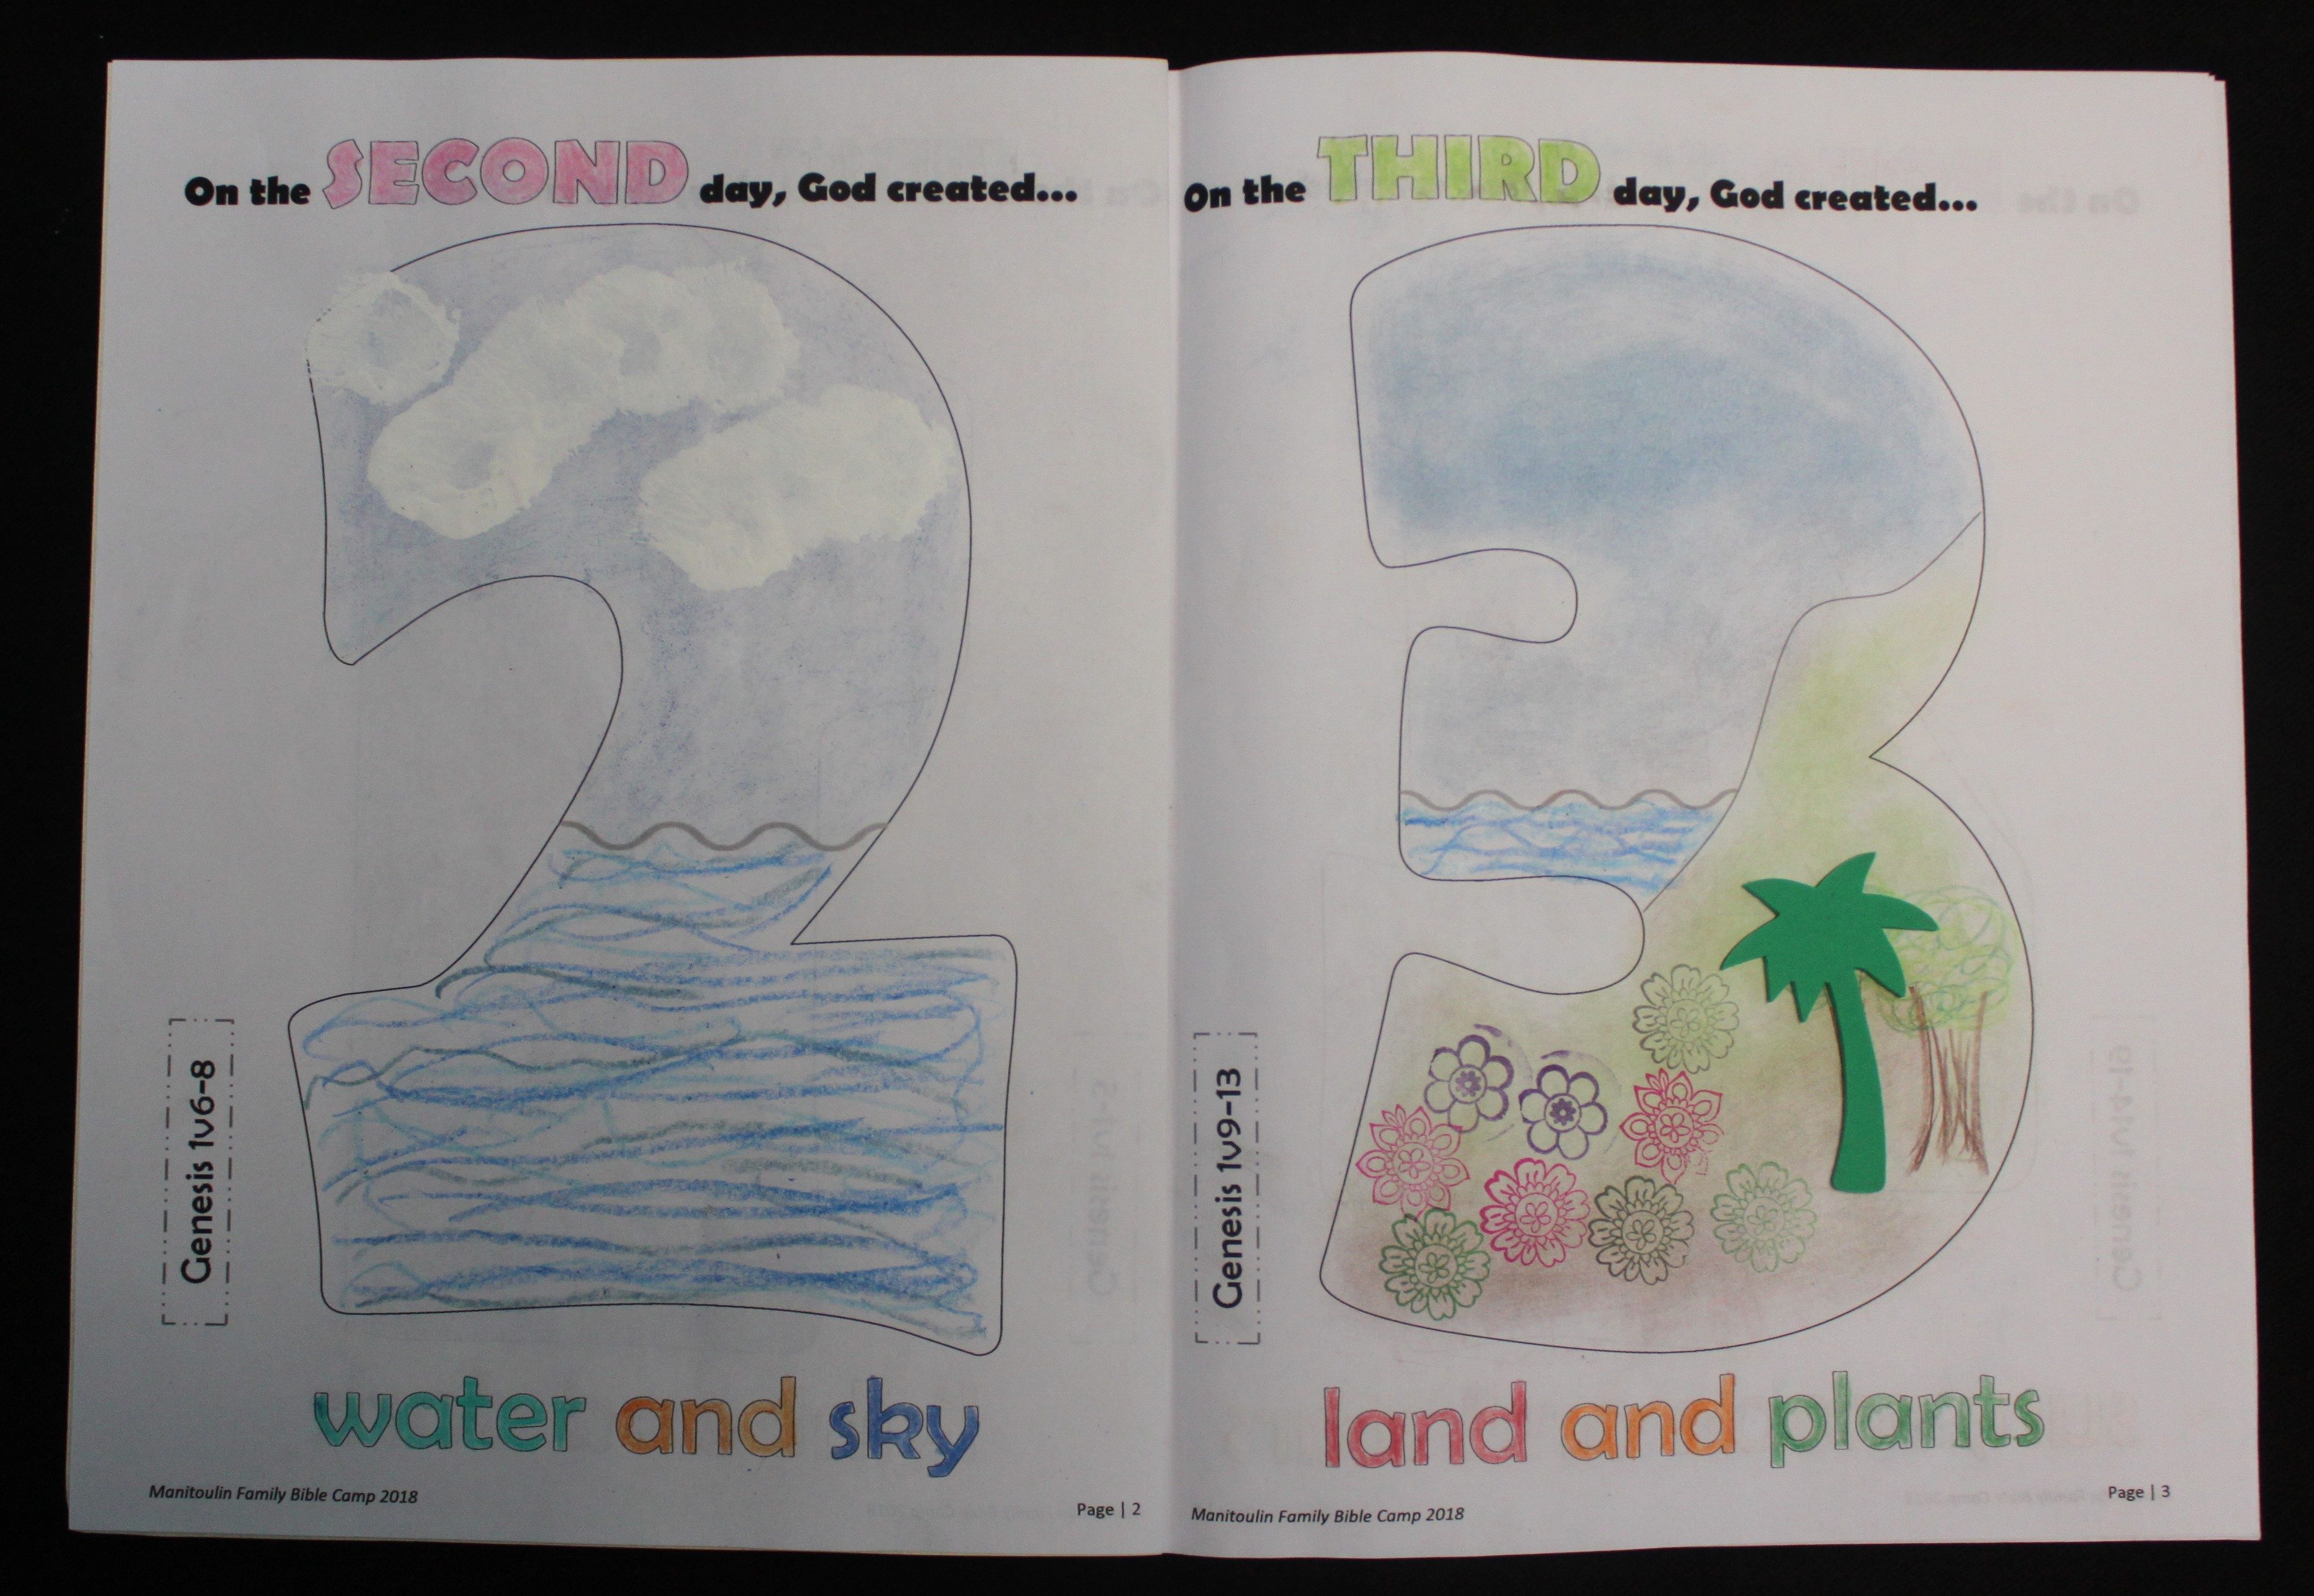
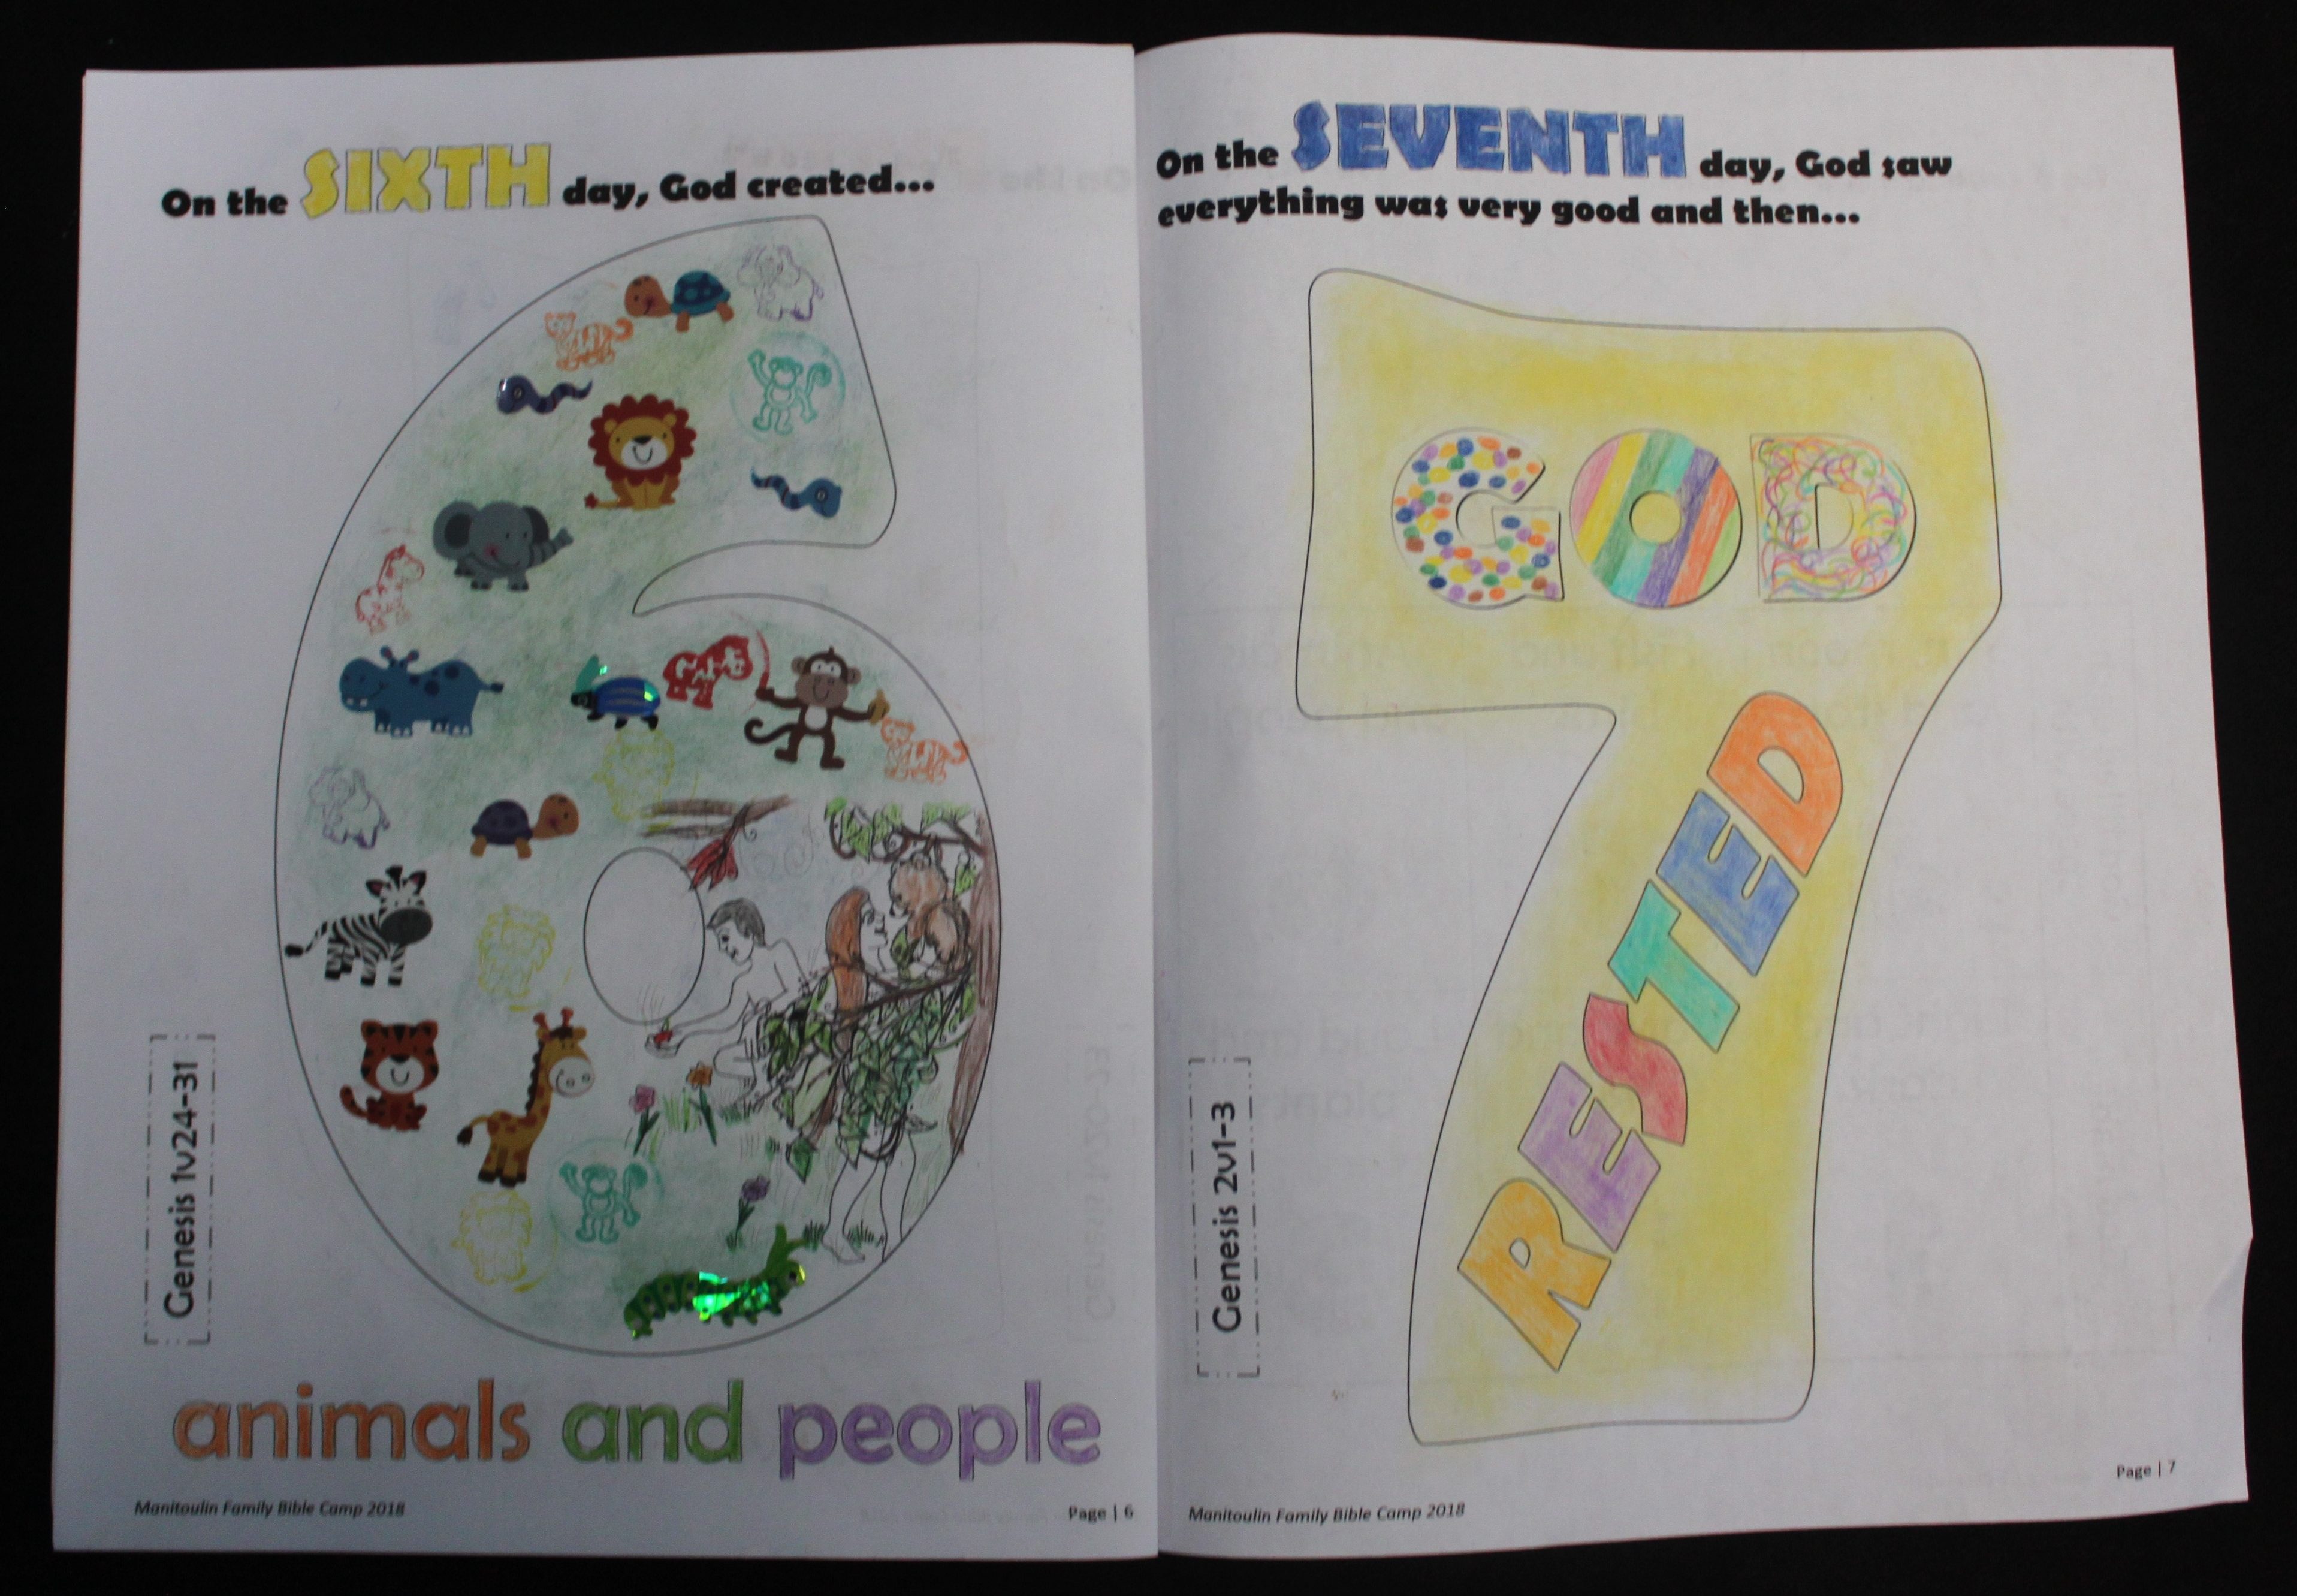
Creation Workbook
Here are some ideas of how you can decorate the numbers on each day in the workbook: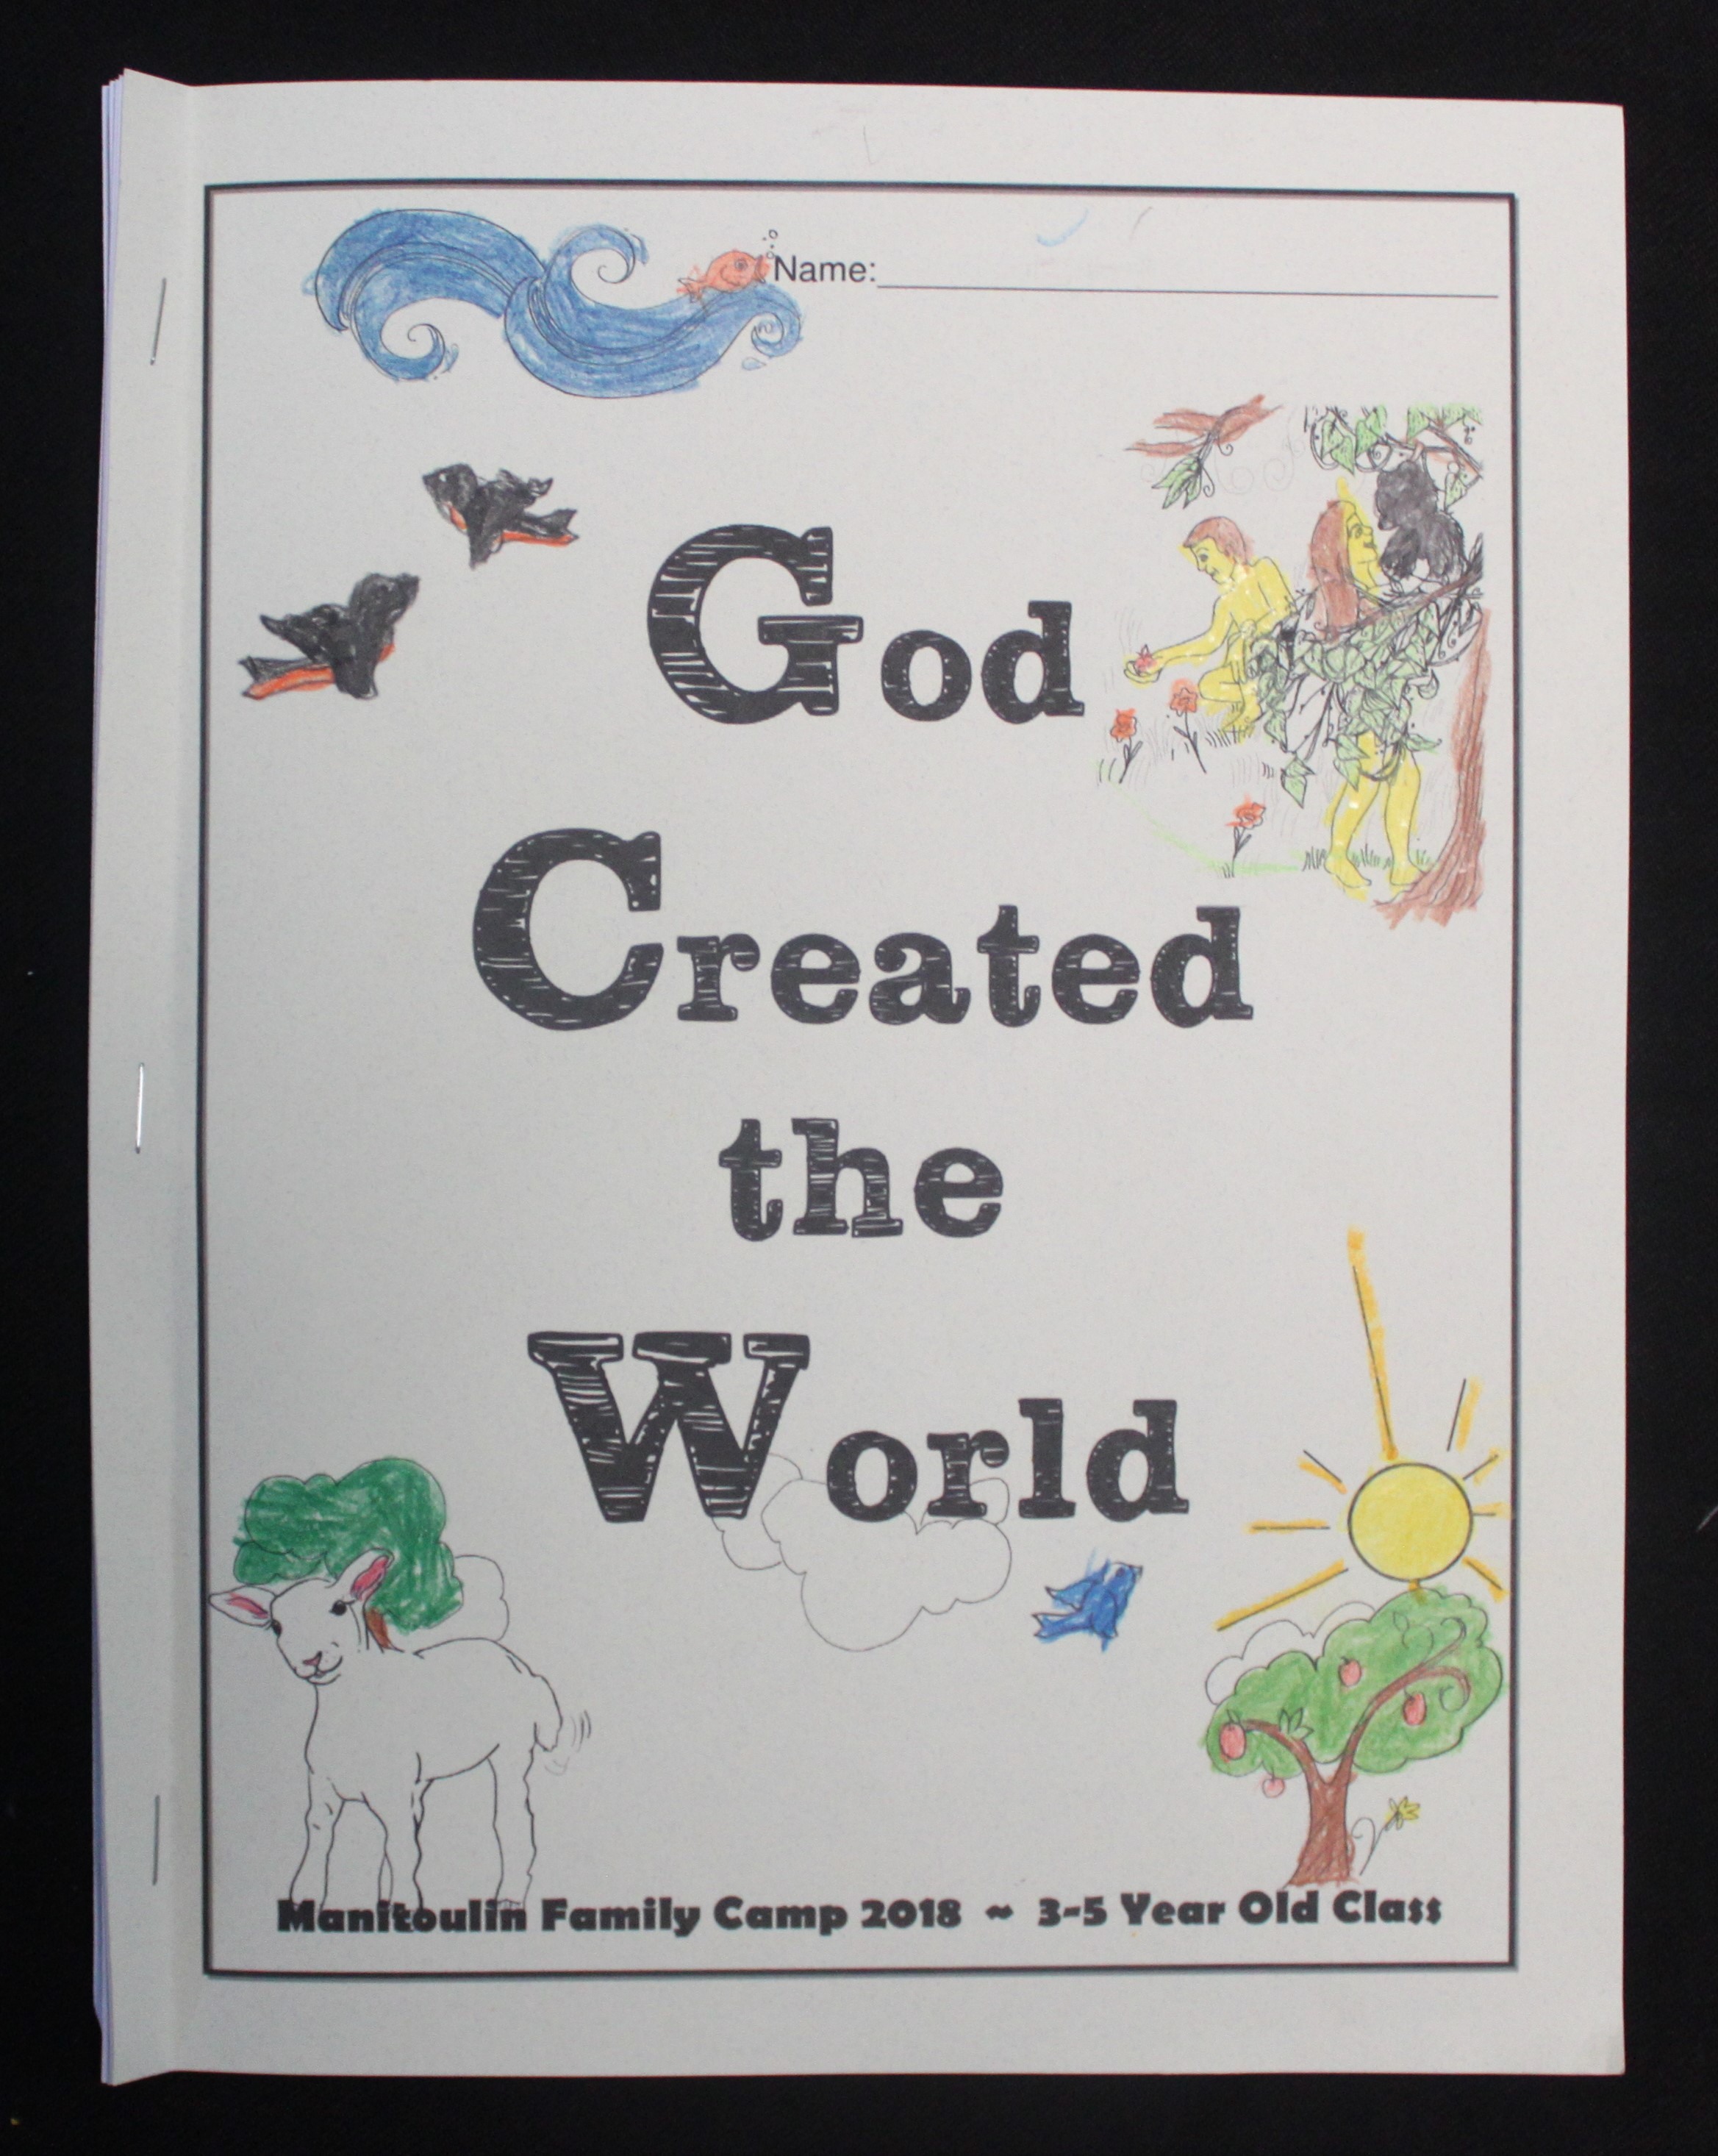
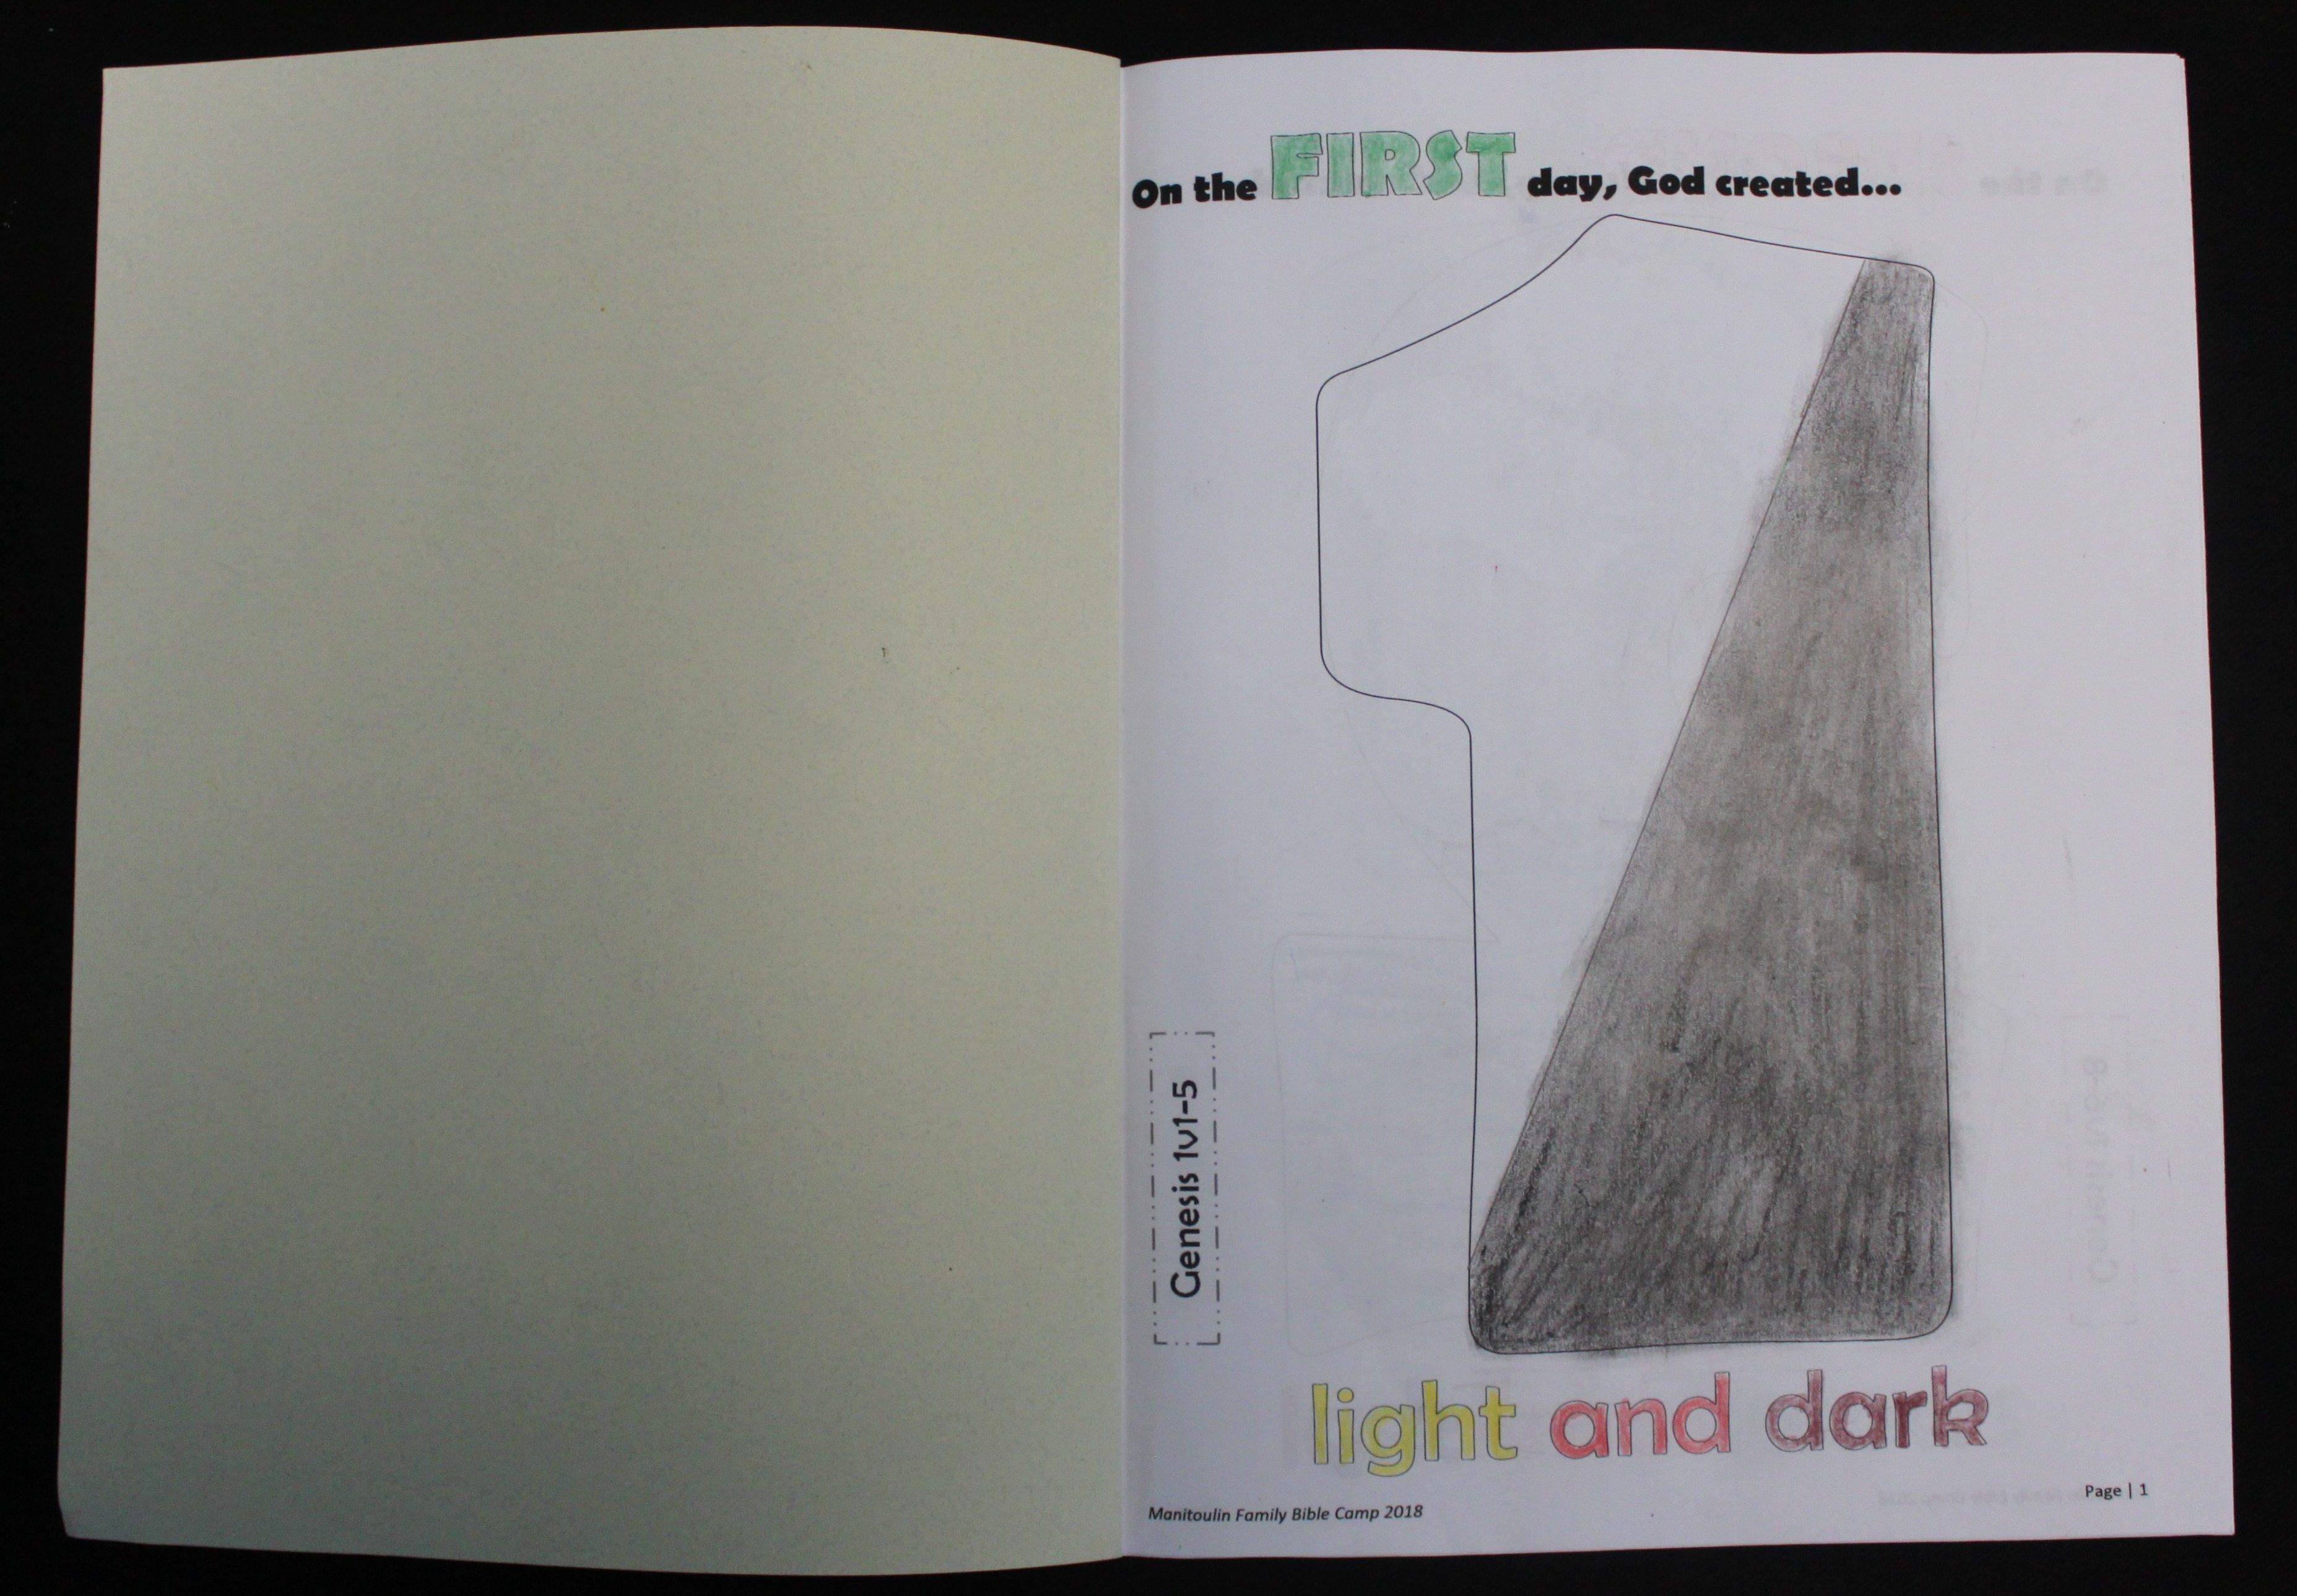
- Day 1 – colour half black, leave the other half white.
- Day 2 – colour top half light blue (sky), colour bottom half dark blue (water), paint clouds with cotton balls dipped in white paint.
- Day 3 – colour the top light blue (sky), dark blue (water), brown (land), put flower and tree stamps or stickers on the land.
- Day 4 – colour top section blue and put sun sticker, colour bottom section black and put moon and star stickers.
- Day 5 – colour top half light blue (sky), bottom half dark blue (water), put fish, sealife and bird stickers.
- Day 6 – colour bottom green (ground) and top blue (sky), put animal stickers and stamps, colour Adam and Eve drawing.
- Day 7 – colour and decorate the words “God rested”.

Click here to download the workbook.

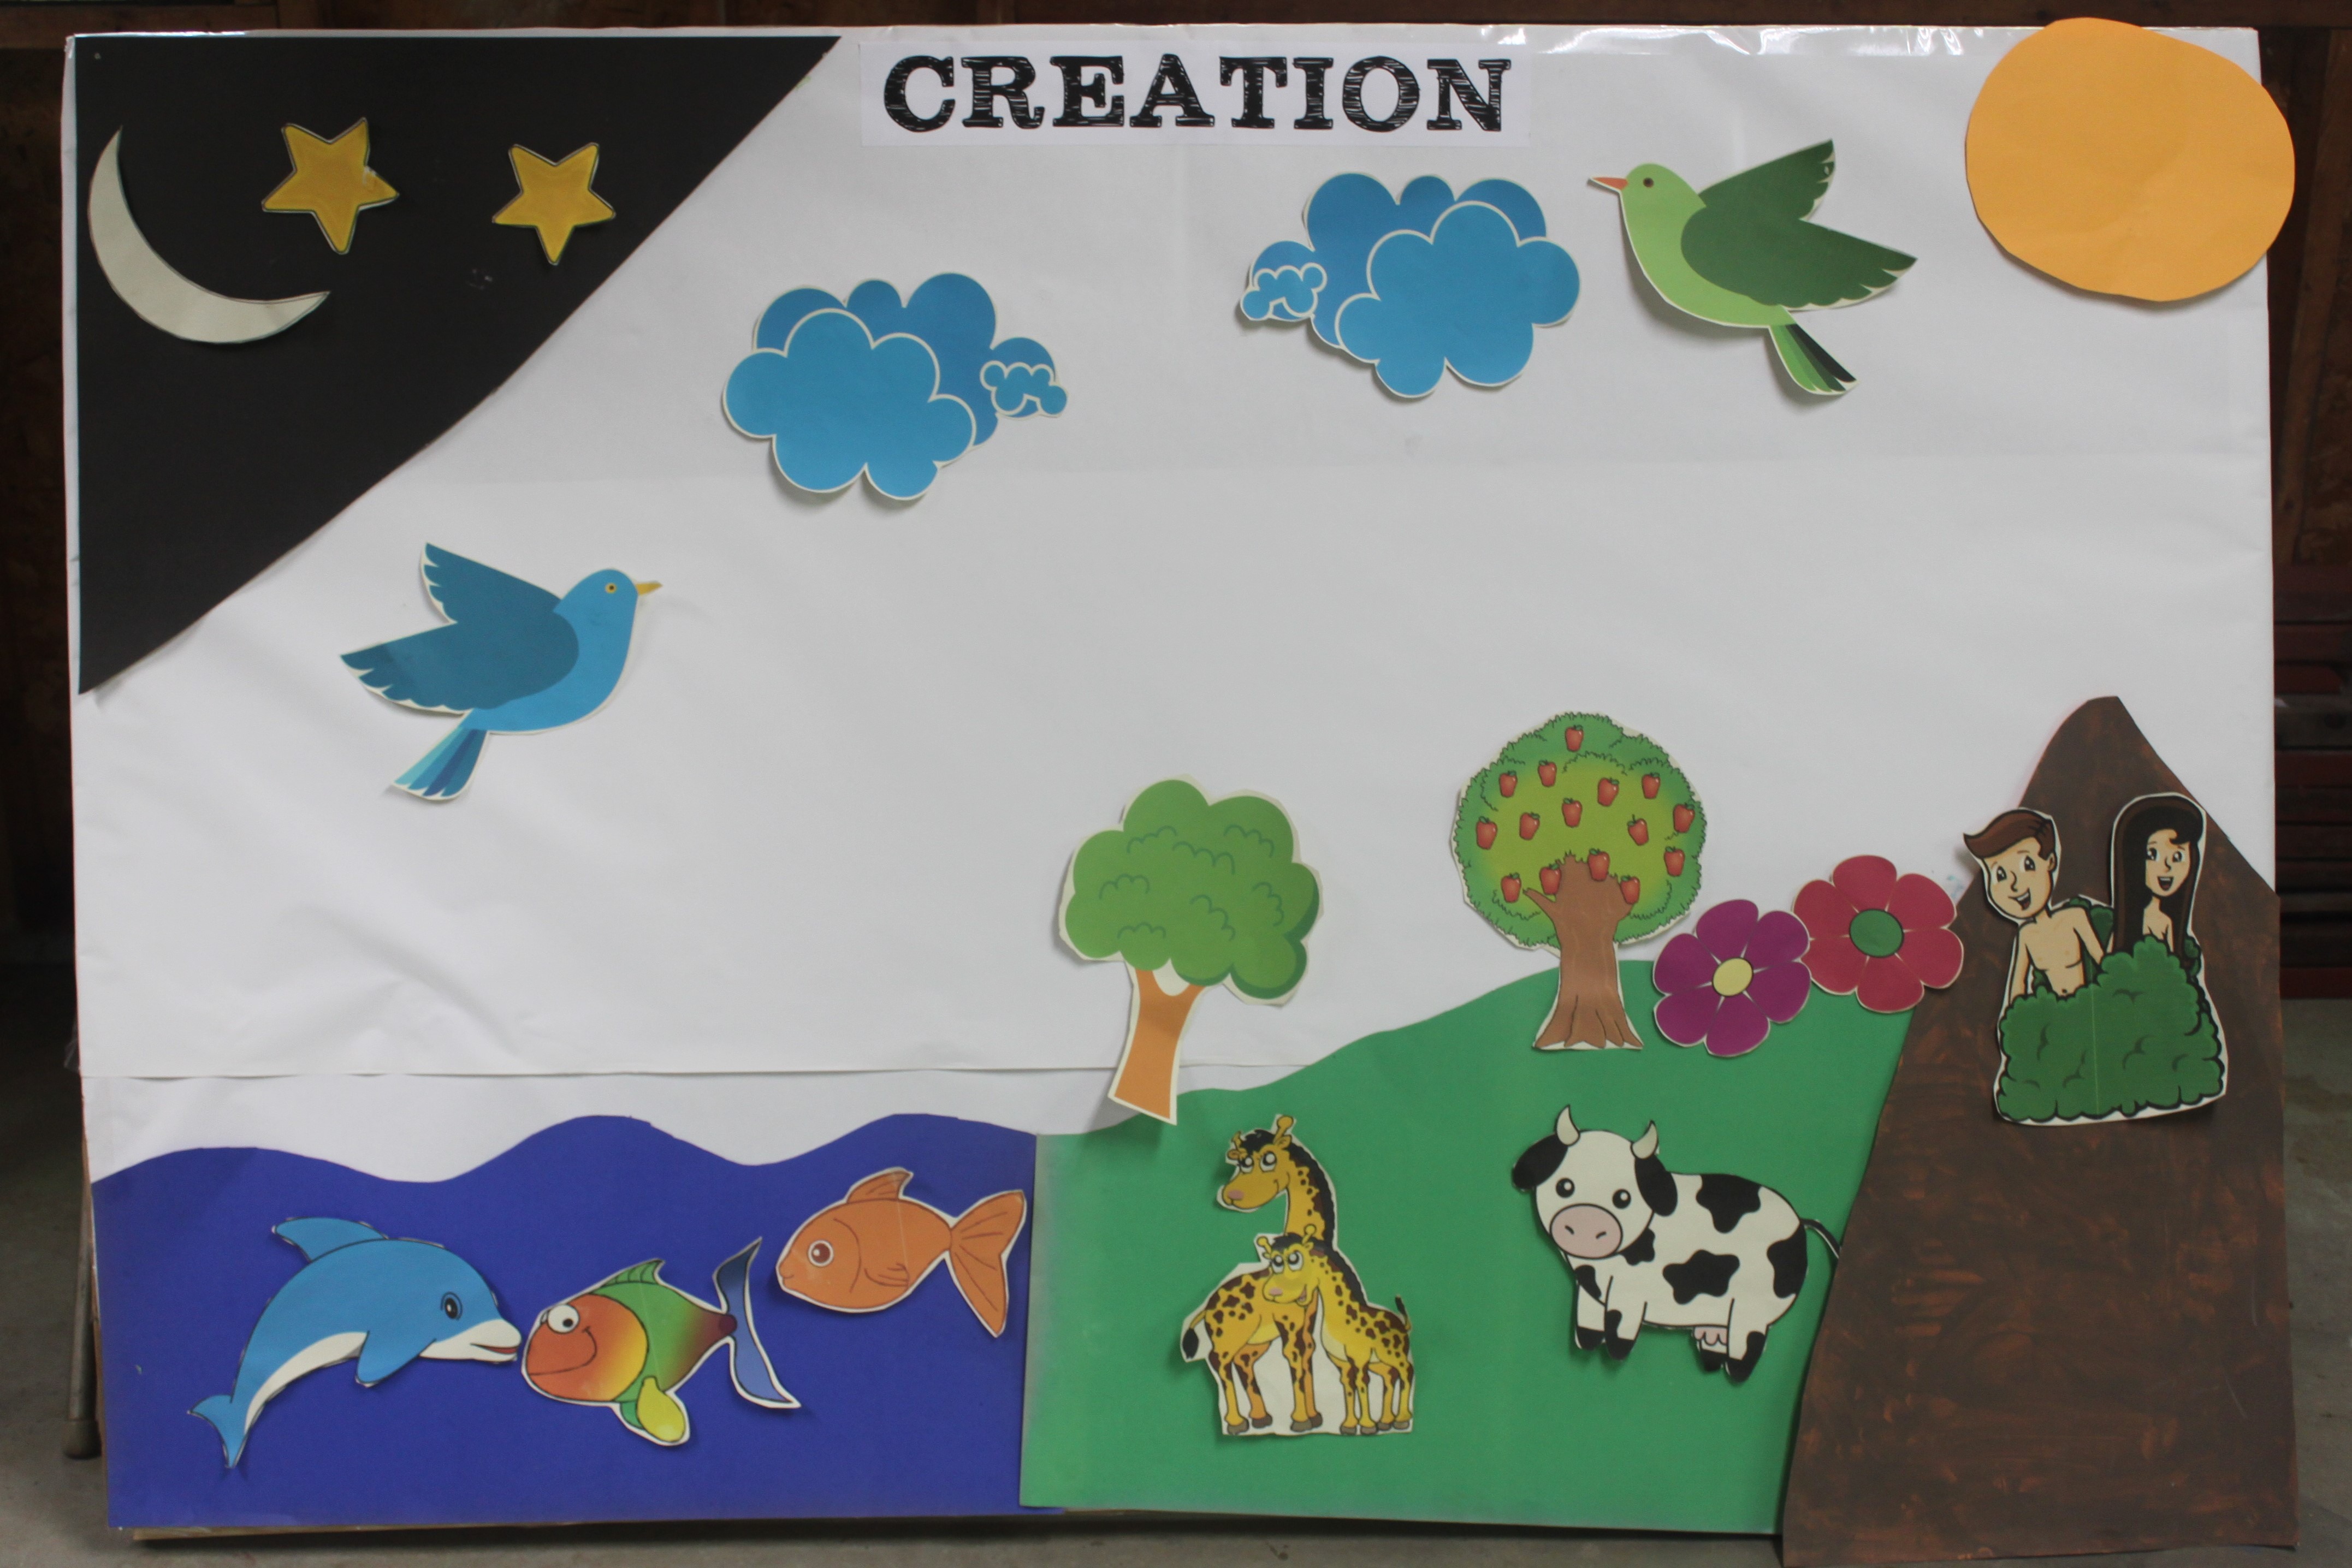
Collage Board
Stick a large piece of white paper to the wall. Print out various clipart that represent what was created on each day. As you talk about the various days of creation, have the children stick on the things associated with that day. (For the presentation night at Bible School, I used this idea. I played a recording of “The Story of Creation” song and as each day of creation was sung about, the children would go and attach their picture to the large sheet of paper.)
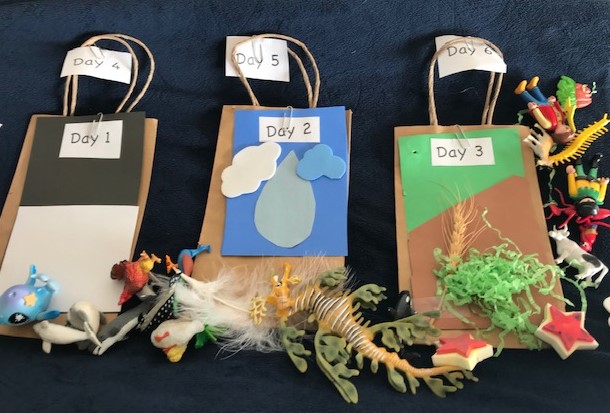
Take-Home Bags
Thanks to Kristin A. for sending in this take-home craft idea.
Creation Hand Motions
This is a great way to help younger children remember the days of creation!
- (on the numbers, put corresponding fingers in the air)
- Day 1 – dark and light (hands over face)
- Day 2 – water and sky (make waves with hands, then hands up high for sky)
- Day 3 – dry land and plants (move flat hands back and forward in front of you, then push hands upward like a tree)
- Day 4 – sun (make circle above head with arms), moon (C-shape with one hand), stars (diamond shape with hands)
- Day 5 – fish (put hands together and wiggle) and birds (flap arms)
- Day 6 – animals (roar like a lion, hop like a kangaroo), Adam and Eve (put arms around self)
- Day 7 – God rested (put both hands out, palms up)
Creation Sunday School Video
“In the beginning the LORD created the heavens and the earth.”
Genesis 1:1