
Thanks to Naomi O for today’s post.
Many of us have had a chance to see the Ark Encounter in Kentucky. The Ark is huge! We wanted an ark prop to convey the grandeur of the ark and the massive project that Noah and his family dedicated themselves to. We wanted a prop that:
- Conveyed the idea of the massive size of the Biblical ark,
- Used relatively inexpensive and/or reusable materials,
- Had a usable doorway through which actors and stagehands could access a backstage area behind the ark,
- Could be “constructed” throughout the play by the actors, and
- Could be moved by one or two stagehands or actors
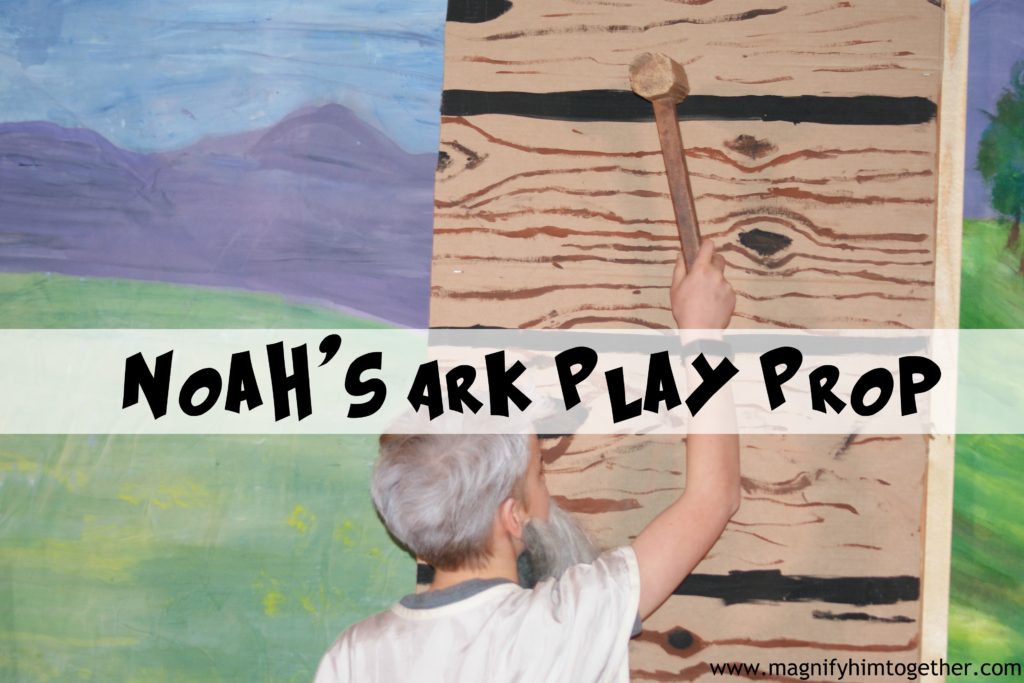
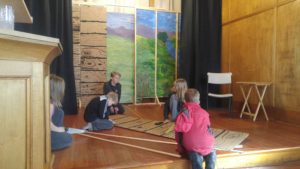
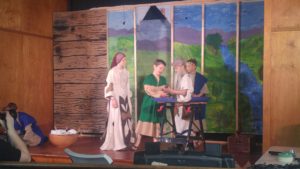
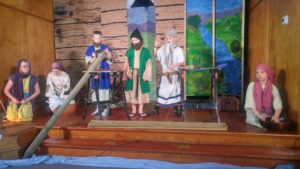
We made a prop that filled our stage area! At the opening of the play, there was the ark frame, sitting in a green valley. The door of the ark was a large panel that was placed 2 feet behind the frame, with a scene painted onto it that blended into the background. As the play progressed, cardboard panels with wooden planks painted onto them were added to the structure.
Noah and his family carried supplies right into the ark, through the ark doorway and into the backstage area behind the ark. They brought little children dressed as animals through the door. At the right time, a stagehand came on stage and closed the ark by turning this panel around, revealing the wood-painted side of the panel. A long piece of blue fabric was raised up around the bottom of the ark, lightening flashed and thunder rumbled, until finally the flood subsided. The ark door was removed, and out everyone came!
 This ark prop uses the following materials:
- Approximately 10 to 12 2×2 8’ lumber
- Framing screws and electric drill
- 2 full-size white sheets, folded to 6 feet wide, and painted to look like a valley
- 1 single-size white sheet, folded to 3 feet wide, and painted to match
- Staple gun and staples
- Miter saw or chopsaw
- 5 thick cardboard panels (about 8’ by 4’ each) (We found these as a sign-making store. They came as protective packing material for their sign-making materials. They were relatively thin, so we had to reinforce them with 1×2 lumber frames.)
- Drill for making holes
Steps:
Make the frame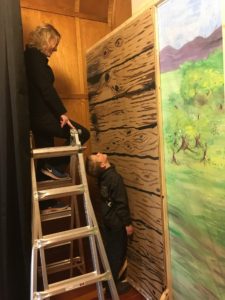
- Measure the width of the stage area. Determine the width of the ark. We made an ark that filled our stage area, approximately 15’ wide. If your stage area is wider than this, I recommend using curtains to fill the rest of the width
- Chop four 8’ 2×2 lumber into 6’ lengths.
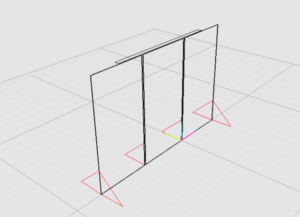
- Using four 8’ 2×2 lumber as uprights, and the four 6’ lumber as the top and bottom sills, screw together to make two 6’ panels, as shown in the photo.
- Using the 2’ offcuts from step 2, and another 8’ lumber cut into 2’ lengths, make braces for the two panels as shown in the diagram. Cut the ends of 6 2’ pieces into 45 degree angles so they can form the triangle shape.
- Screw an 8’ piece of 2×2 lumber to the top of both panels so that there is a 3’ doorway between the two panels, one screw per panel. The idea is that the ark frame can pivot on these two screws, so that each side of the ark can be shuffled forward about 2 feet independently of the other side. This makes the ark much easier to move around, as it’s not just one giant panel. If the ark won’t need to be moved, then screw this top sill at more than one point per panel so it does not pivot.
Ark “acacia wood cladding” panels
- Cut or tape together cardboard panels to form 4 8’tall by 4’ wide panels and 1 8’ tall by 3’ wide panel.
- Paint a wood grain pattern onto the cardboard panels. See photos for reference. This was a fun group project!
- If they are floppy, like ours were, reinforce the backs of these cardboard panels with a 1×2 lumber frame or scrap trim lumber.
- Drill two holes at the tops of each cardboard panel.
- Drill screws to match these holes onto the ark frame, so that the cardboard panels can be hung onto the ark frame.
 Background scene
- Using watered-down acrylic paints or very thick tempura paint, paint a background valley scene onto the back of the 2 folded full-size sheets and the 1 folded single-size sheet, with the single-size sheet in the middle. Two of the children from the play helped with this project!
- Using a carpenter’s stapler, staple the full-size sheets to the back of each side of the ark frame, so it appears like the ark frame is sitting in a valley.
- Staple the single-size sheet to the back of the 8’ by 3’ cardboard panel. This is the door.
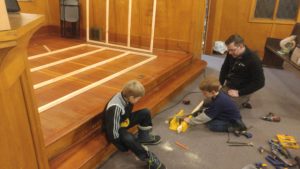
As you can see in the photos and from the description, Sunday school kids were involved in every step of the building of the ark!
After the play, everything except the cardboard was reused. The 2×2 lumber was reused in a drywall framing project in a downstairs bedroom, and the sheet backdrops were removed from the cardboard and folded and stored to be reused in another play.