 Thanks to Wayne C. for our post today.
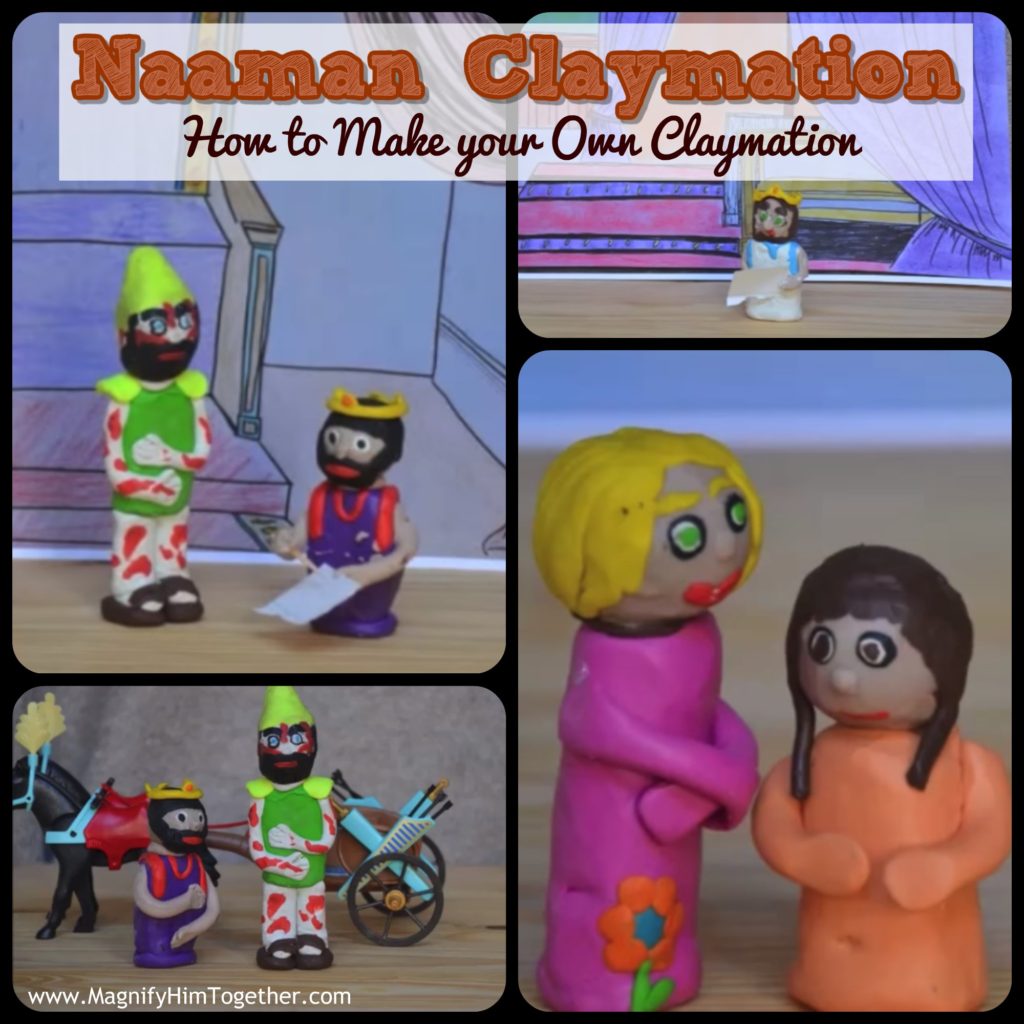
This play was done with an intermediate SS class as part of the CSSA series of study for a SS entertainment. The format is called a “Claymation”.
The Script
The first step, of course, is to write a script. Choose a story with many characters, with dialogue, and with some action. As with any Bible study, you will need to read the story multiple times to become very familiar with it and learn the lessons. Slow the story down in your mind and put yourself in each scene. Try to feel what each character is feeling. When writing, if there is dialogue in scripture, make it a part of your script – the audience will recognize it and connect more with the play.
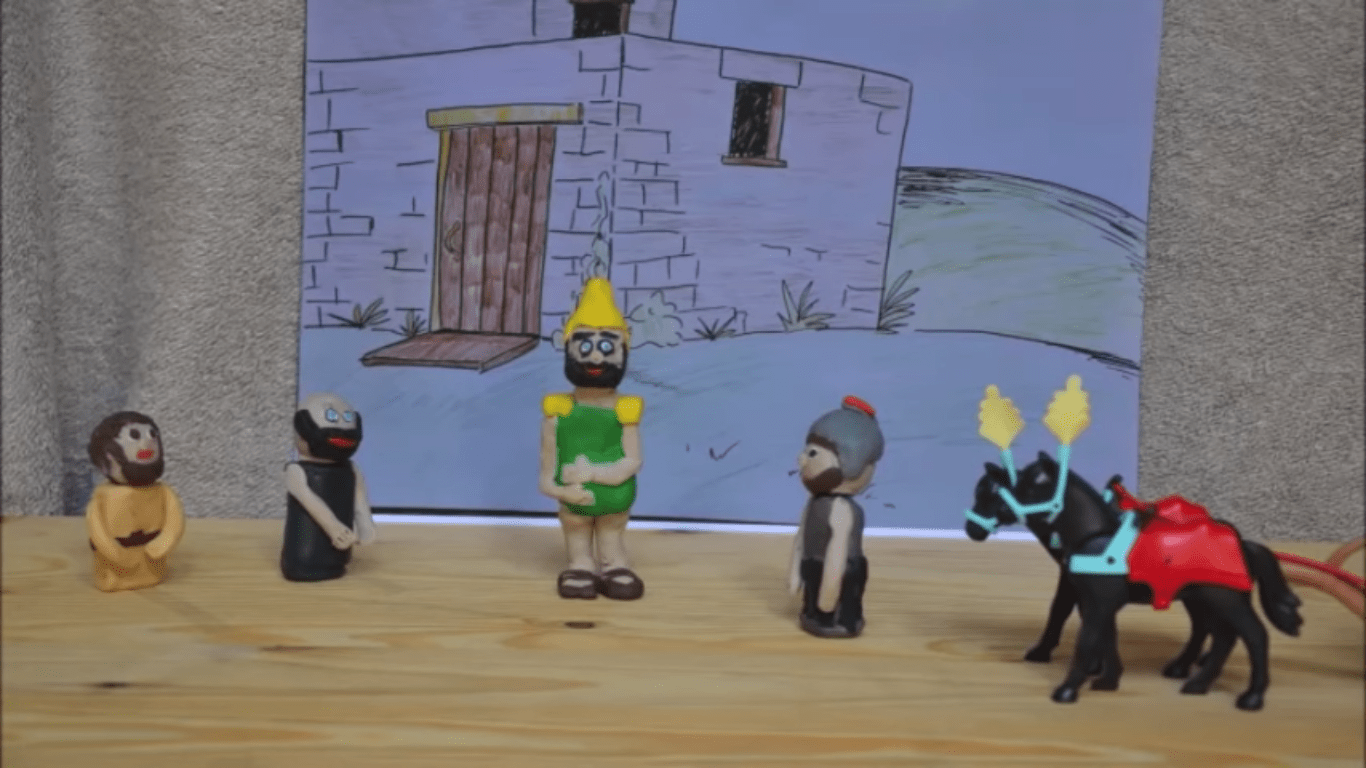
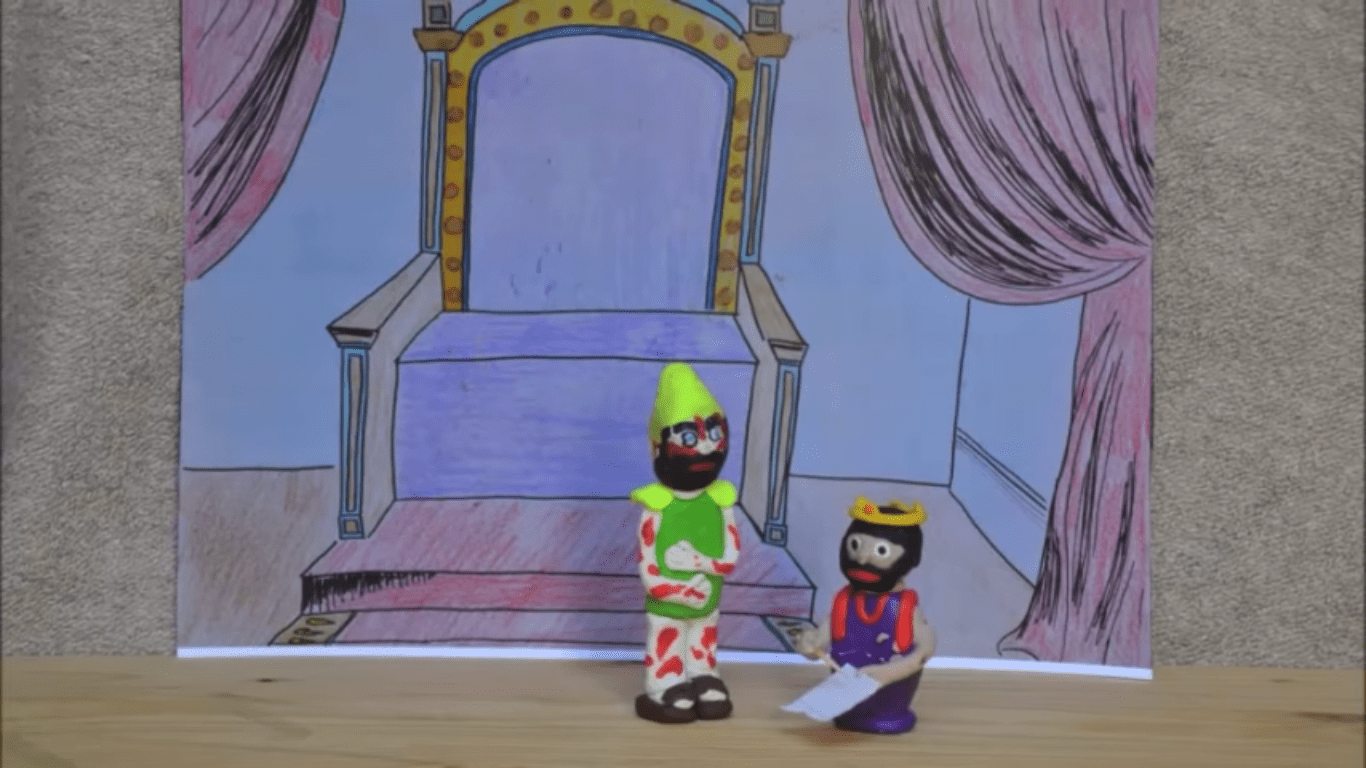
 The Figures
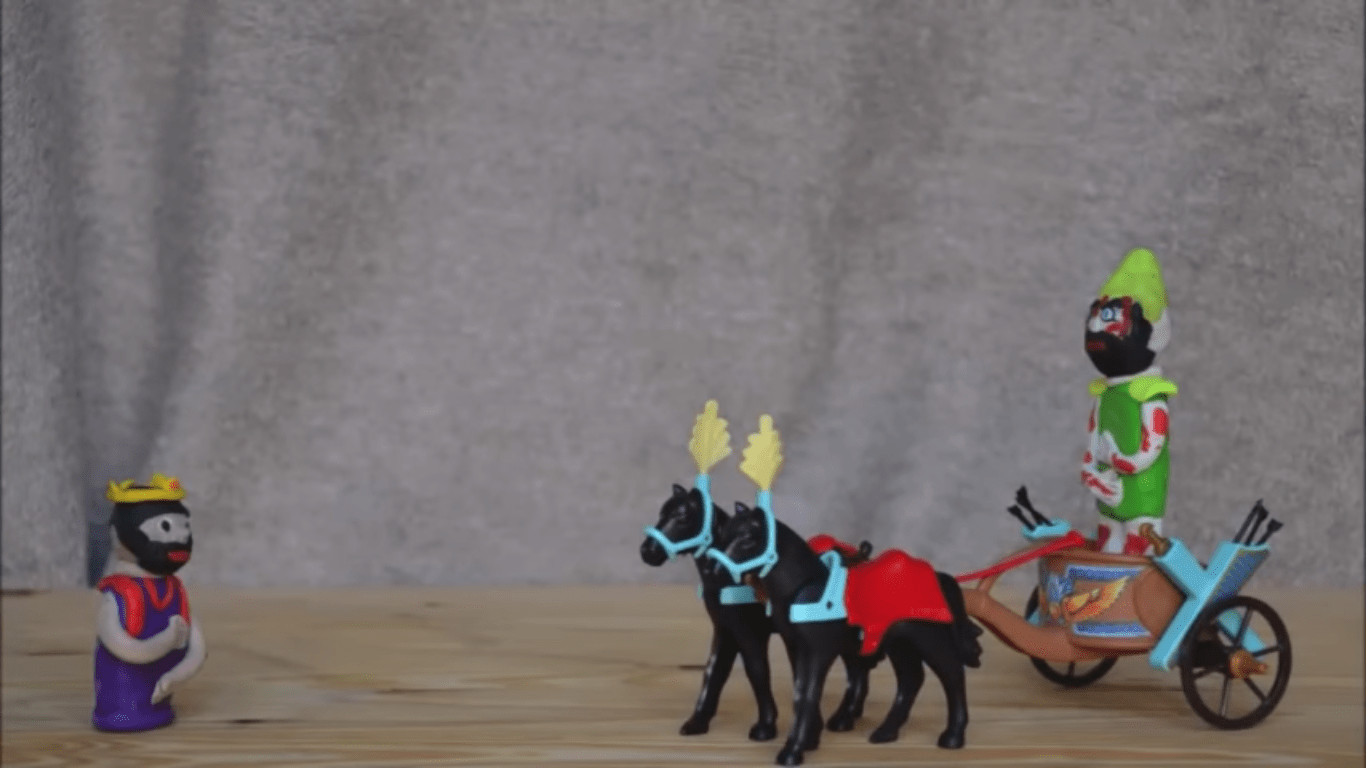
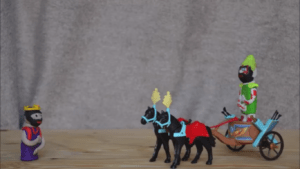
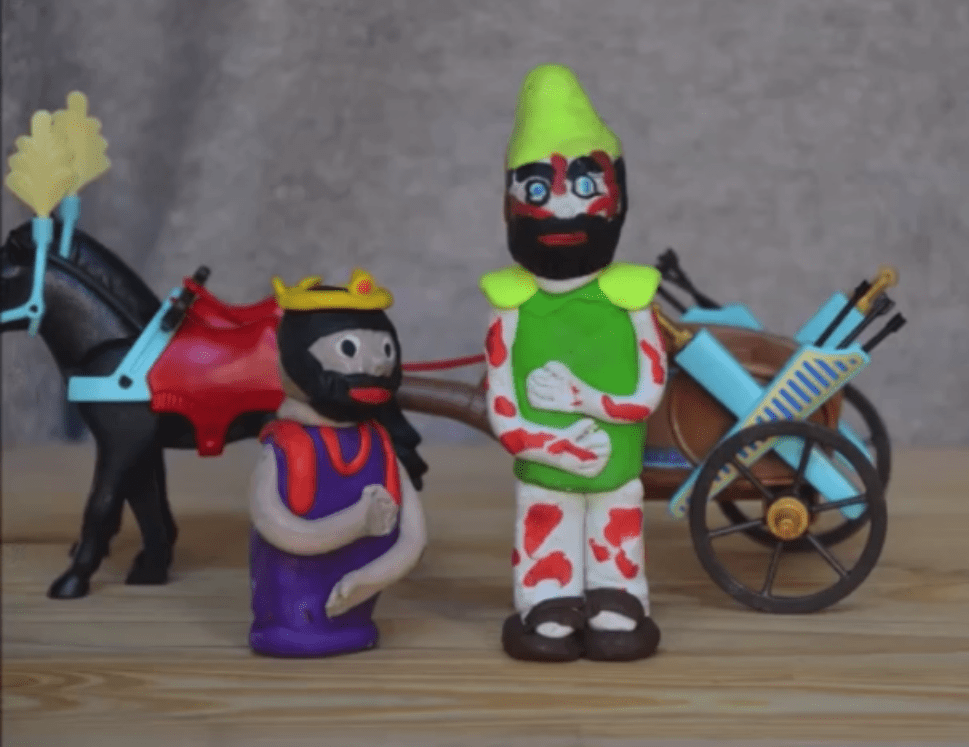
The figures are made of clay, so buy a pack or two with various colours This is what the SS class spent most of their time on, and each class member was responsible for a different character. The figures are about 4” tall and may need a stick inside the clay to give it support. A lot of detail can go into each figure using different colours of clay and with good shaping.
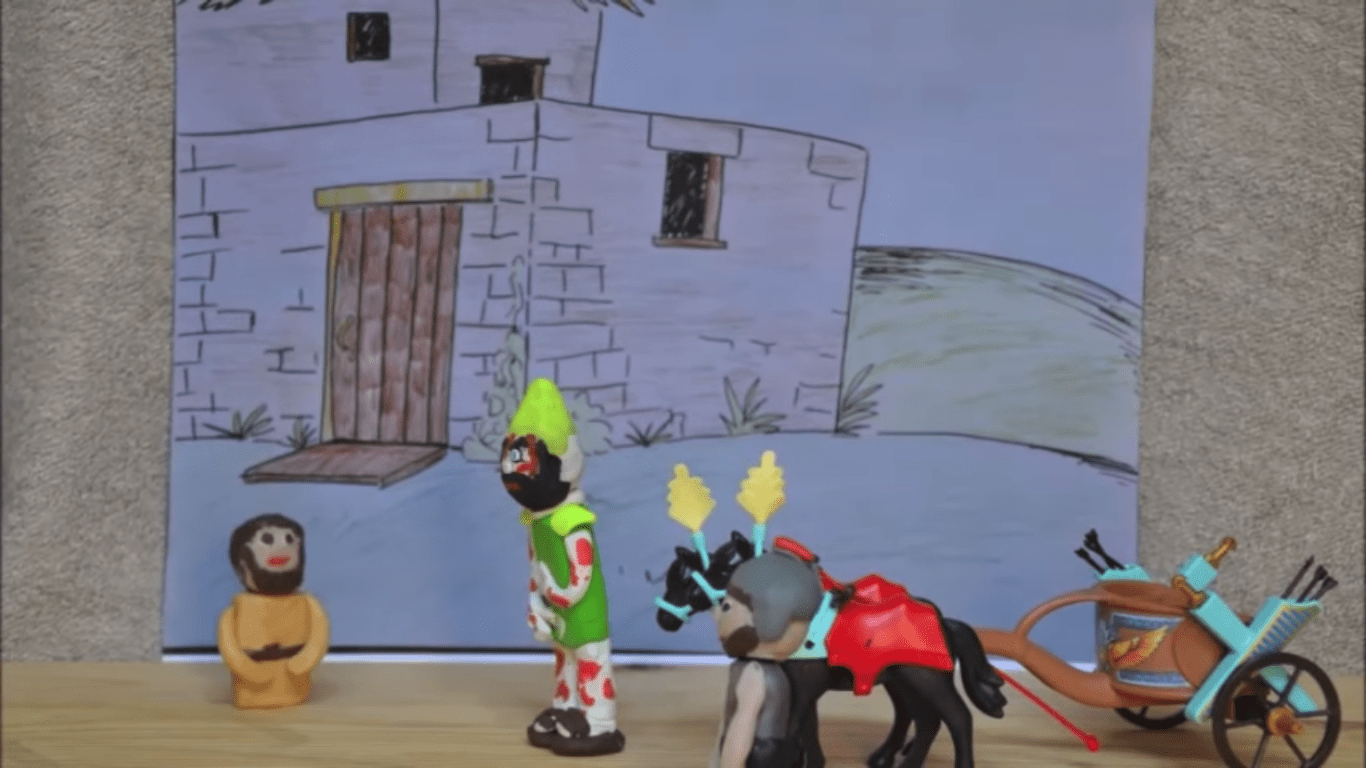
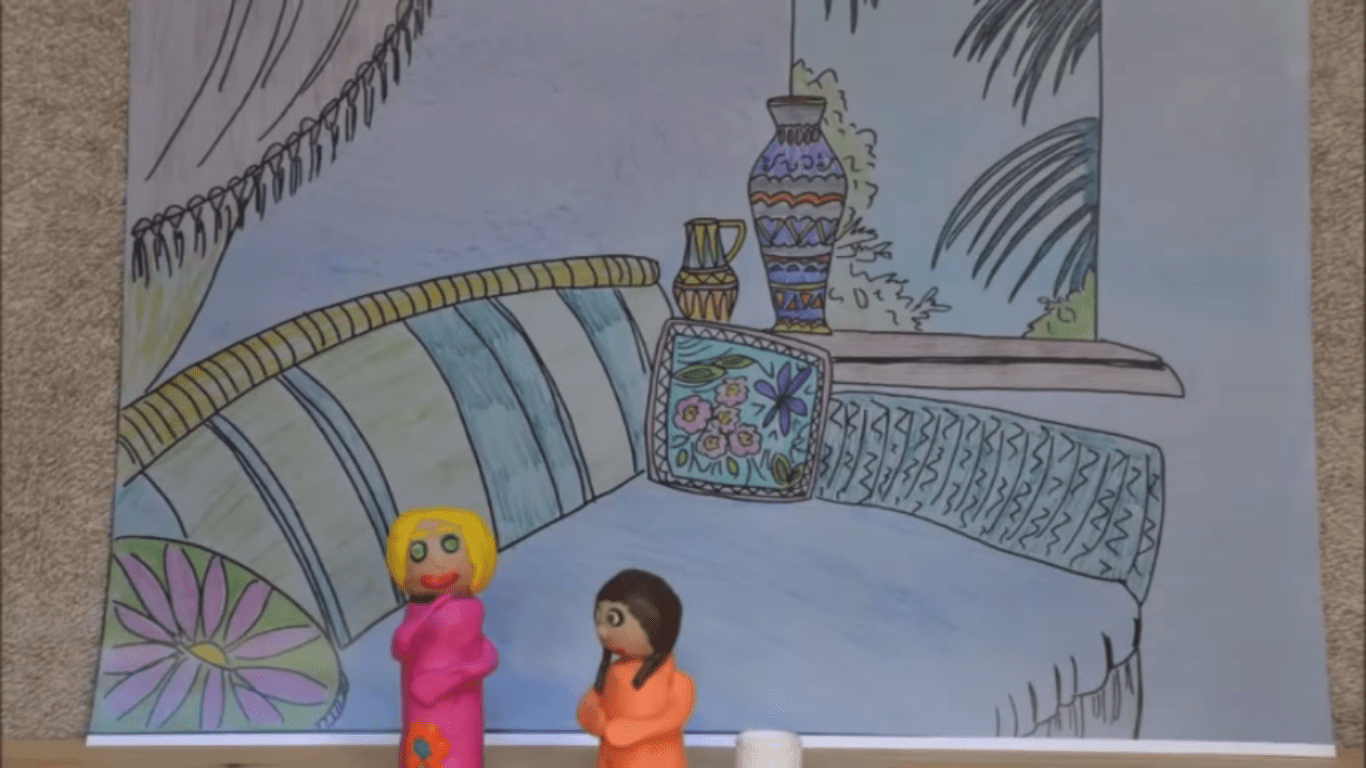
Props and Backdrops
You will have to hunt through craft stores, hobby shops, toy stores, or online to find the right props at the right size. Backdrops will require a decent artist – again, drawn at the right size to provide the proper perspective
 Record the Script
Assign a role to each student and have them practice reading it at home. There will be some practice required in class as well so the students get the timing right. Also, it’s important to work on the right speed, emphasis, inflexion, and expression – it needs to sound real, and entertaining. Record the play in scenes
The Pictures
You will need a room with controlled lighting, a table against a wall, and camera on a tripod. For each scene, place the backdrop against the wall – the props and figures go in front of it where they will “act”. It’s very important to have your camera on a tripod, and it must remain in the same position for each scene. Now you will take pictures – hundreds of pictures! If you want a character to walk across the stage, take a series of pictures and place the character an inch or so further in the direction you want him to walk. When the pictures are strung together in a series it looks like he’s walking. If a character is talking, turn it and move it slightly left, right. Keep each scene in order to help you keep your pictures organized and if using an SLR camera, consider reducing the resolution so the file sizes are smaller.

Putting It all Together
This part will take a while! And was not done with the students, it’s pretty much a one-person job. You will need Windows Movie Maker or iMovie. Import all the pictures in order, import the script recording with the students’ voices. You then will have to work on timing the pictures to match the voices. Once that is complete, find some music to add it at appropriate times (beginning and ending scenes). Then add in sound effects like horses galloping, or swords clashing, or water running. You can search online for these – some are free, some are not.
When all the editing is done, render it and save it – you now have a Claymation!
Have a look at the claymation at this YouTube link.